
Cycling Accessories Buying Guide for Beginner Cyclists
Start with a small cycling kit you can use without help: a correctly fitted helmet, lights suited to the route, a pump that connects to your valves, and a realistic way home after a puncture. Add carrying and locking equipment when your rides need them. A large starter bundle is worthwhile only when its individual pieces fit your bicycle.
For a beginner, the useful upgrade is often a demonstration rather than another gadget. This guide separates first-ride purchases from later additions, explains what to try at the shop, and shows how to leave with equipment that works together instead of a bag of unfamiliar parts.
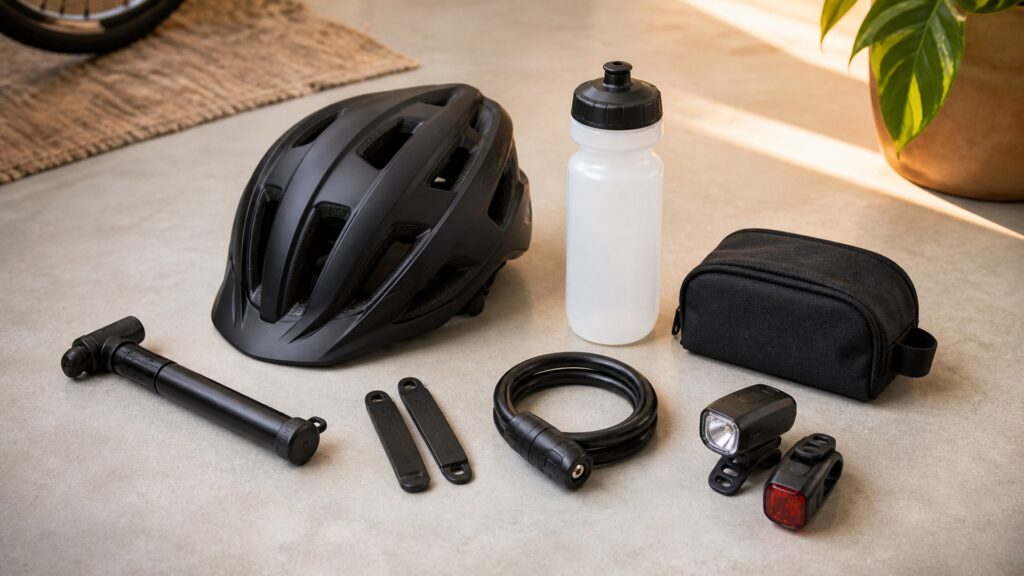
Buying framework
Buy for the first rides you will actually take
Set up the essentials before collecting extras. Each purchase should remove a specific obstacle to leaving home or returning comfortably.
Draw a small starting route: Note traffic, expected daylight, stops and how you could get home with a disabled bicycle. Those details determine light, lock and repair needs more usefully than the word beginner on a package.
Fit the rider equipment first: Try the helmet retention system and straps, then repeat the adjustment yourself. A helmet that fits now is the starting point; leave color and matching accessories until that fit is established.
Ask for a working demonstration: Bring the bicycle so the seller can show the light mount, pump head and bag position. Repeat each operation with your own hands before deciding that an accessory is easy to use.
Reserve money for missing pieces: A lamp without its required bracket or a repair kit without compatible inflation is unfinished. Price the ready-to-ride setup, then postpone data sensors and other optional electronics until a recurring need appears.
Who this is for
Which first-ride situation describes you?
Beginners do not all need the same shopping basket. Route and support change what should be ready on day one.
Short rides close to home: You are learning controls on familiar streets or paths and can arrange a straightforward return. Prioritize helmet fit, route-appropriate visibility, home inflation and a modest carrying solution.
Starting a work commute: Your bicycle will be parked and the return trip may be darker than the outbound ride. Lock fit, dependable lighting and secure work-item carrying belong in the initial budget.
Joining an introductory group: The organizer may specify spares, lights or other equipment. Obtain that list and learn to use your own items; an accompanied ride does not automatically include mechanical support.
Exploring independently: You expect longer gaps between help and may take unfamiliar turns. A practiced puncture response and accessible route information become useful sooner than performance statistics or matching accessories.
What to pay attention to
Six things to try before paying
These checks expose problems that package descriptions miss. Ask the seller to demonstrate them on the equipment you will actually ride.
Learnable controls and interfaces
Retention, buttons and valve connections should be understandable with a short demonstration. These are the points you will operate without a salesperson beside you.
A complete first-ride setup
The kit is complete when its pieces fit the bicycle and cover the route. Spare brackets, compatible supplies and carrying space matter more than a large accessory count.
Helmet adjustment range: The helmet should sit level and remain securely positioned with its retention and straps correctly adjusted. Use the NHTSA fitting reference linked below and the helmet instructions rather than buying extra room to grow into.
Lamp button and charge indication: Select the intended light mode, switch it off and identify the low-charge signal. A high output figure is secondary if you cannot reliably find the needed setting or see the remaining charge.
Pump head and valve access: Identify the valve type and practice connecting the head with enough exposed stem to seal. A floor pump can simplify home inflation, while a carried pump needs its own fit and usability check.
Repair kit contents: Match any spare tube to the tire and valve, then identify the tools needed to remove your wheel. A multi-tool's item count does not tell you whether its bits reach your bicycle's fasteners.
Loaded bag and bottle position: Fit the actual tube, pump or bottle and turn the pedals and handlebar through their normal movement. Check that the saddle bag does not hide the rear light or rub a tire.
Replaceable attachment parts: Find the part number or listing for the light bracket, mount strap and pump seal where applicable. An inexpensive accessory can become wasteful if one small lost attachment makes it unusable.
Avoid these traps
Skip purchases that add confusion
A starter kit should make riding easier to begin. These shortcuts commonly leave a new owner with more equipment but less usable capability.
Counting pieces in a bundle: A box advertised with many tools may include duplicates and fittings you cannot use. Compare the useful matched pieces with buying a smaller set individually.
Buying the tiniest inflation option: Compact pumps and cartridge systems can demand more effort or technique than expected. Handle a demonstration unit first; convenience in a bag should not hide difficulty at the valve.
Treating a phone as every accessory: Navigation can be useful, but mounting, weather exposure and power need thought. Do not assume a phone screen replaces bicycle lighting or that a navigation app creates a recovery plan.
Learning everything on the roadside: Unfamiliar wheel removal and tight tires are harder to manage during a disrupted ride. Practice with guidance at home, and arrange assistance for failures beyond the procedure you know.
Decision guidance
Choose the starter setup in stages
Buy the equipment required for your next rides first. Expand only when the route, stopping pattern or independence changes.
Choose a local-ride kit for nearby outings: Fit the helmet and suitable lights, establish home inflation, and carry essentials securely. A simple way to contact help may be more useful initially than a collection of tools you have never handled.
Add a parking kit for errands or work: Try a lock around the bicycle and the kind of fixed stand you will use. Add a bag for the real load; a lock or bag should earn its place through a planned stop.
Add personal spares for unsupported riding: Buy the compatible tube or other appropriate tire-system supplies and a usable pump after learning the recovery procedure. Keep the kit small enough to carry on every intended ride.
Defer connected training accessories: Start with the information you genuinely need while moving, such as directions. Buy a separate computer or sensor when a repeated navigation or training task justifies another mount, battery and setup process.
Ownership & compatibility
Keep the starter kit ready
Simple routines prevent small accessories from becoming reasons to miss a ride. Learn the few checks relevant to the equipment you selected.
Give rechargeable lamps a home: Choose a regular charging location and keep the correct cables there. Follow the manufacturer's charging instructions and check status before leaving, particularly when the next outing could end after dark.
Replenish the repair pouch: Replace used supplies after a puncture and inspect carried items for rubbing or damage. Save the tire and valve details so the next spare does not depend on remembering a shop conversation.
Inspect contact and fastening points: Check that light straps, cage bolts and bag fasteners remain secure as instructed. Remove grit where accessories contact the bicycle, and use only approved attachment methods and tightening guidance.
FAQ
Beginner accessory questions
Resolve the remaining practical details before buying. Exact fittings still depend on your bicycle and the accessory instructions.
Do I need cycling shoes immediately?
Can I buy the pump before choosing a bicycle?
Is a bell worth adding?
Will one lock fit every parking stand?
Should I buy a waterproof phone mount?
Can a shop fit all the accessories?
Are rechargeable or replaceable-battery lights simpler?
Do I need a large saddle bag?
What should I keep from the packaging?
Bottom line
Leave the shop able to use the kit
The strongest beginner purchase is a complete, understandable setup. Favor demonstrated fit and operation over the size of the accessory collection.
Prove the basic operations: Repeat the helmet adjustment, light selection and pump connection yourself before the first outing.
Cover the actual route: Provide for its daylight, parking and recovery needs; a short familiar loop and a commute justify different additions.
Upgrade from experience: Keep money available for the first problem your rides reveal instead of predicting every future activity at checkout.
Reading Shortcuts
Follow the starter-kit decisions from route to shop demonstration.
Decision Reminders
Use these prompts when collecting your bicycle and accessories.
- 1: Adjust the helmet yourself.
- 2: Connect your own pump head.
- 3: Check the loaded bag beside the rear light.
- 4: Agree a practical way home after a failure.
Glossary Snippets
Four terms that help you understand fitting demonstrations.
When to Use a Top 10 Review
Use the list to find candidate accessories after identifying the missing function.
- Start with one need: Choose the accessory family that solves your next ride's missing requirement.
- Bring the bicycle: Candidate products still need a fitting and operating demonstration.
References: NHTSA helmet-fitting guide; Park Tool tire, tube and valve guidance. Checked October 6, 2026. This guide does not claim original product measurements. Use the Comparison to assess finalists.
When to Use a Comparison
Compare the actual fittings and operations of your finalists.
- Check the complete price: Include required brackets, compatible supplies and fitting.
- Compare daily handling: Try charging access, removal and replacement on each candidate.
For a selection of candidates, visit the Top 10.