
How to Choose Engine Filters for Home Garage Repair Projects
A filter service belongs in a home garage only when the exact part is accessible safely and the mechanic can control every open air, oil, or fuel path. Hot fluids, pressurized fuel, unstable lifting, brittle fittings, incorrect cap tools, and misplaced seals can turn routine work into a leak or no-start.
Read the vehicle procedure before ordering, inspect access while the vehicle still runs, stage clean parts and compatible containment, and define stop conditions. The job ends only after pressure, levels, leaks, warnings, operation, cleanup, and disposal are verified.
Buying framework
Plan the clean service before opening the circuit
A filter job is home-garage suitable only when the mechanic can reach it safely, control hot or pressurized fluids, protect the clean side, install every seal correctly, and verify operation.
Read the exact procedure: Identify filter position, access path, lifting points, pressure relief, drain order, required fluid, cap or can method, seal locations, torque, priming, resets, leak checks, and disposal rules before purchasing parts.
Inspect access while the vehicle runs: Locate the air box, oil drain and filter, fuel module, shields, connectors, brittle fittings, clearance, and likely spill path. Decide whether ramps, stands, undertrays, specialty sockets, or professional equipment are required.
Stage clean and dirty zones: Prepare protected new parts, clean tools, drain pans, absorbent material, capped containers, plug or cap provisions, fire control, ventilation, and waste storage. Keep removed dirt and fluids away from open downstream passages.
Define stop conditions: Stop for unstable support, hot fluid exposure, unresolved fuel pressure, damaged or seized caps, stripped threads, broken connectors, unexpected contamination, missing seals, uncertain priming, or oil-pressure and fuel-leak concerns.
Verify before normal driving: Complete oil or fuel level, pressure indication, starting, idle, intake noise, leaks, warnings, resets, undertray and fastener checks, cleanup, and any specified reinspection after the first heat or operating cycle.
Who this is for
Home difficulty varies sharply by filter type
An air-box element can be accessible, while a cartridge oil cap or diesel fuel module may combine lifting, fluids, pressure, electronics, and priming.
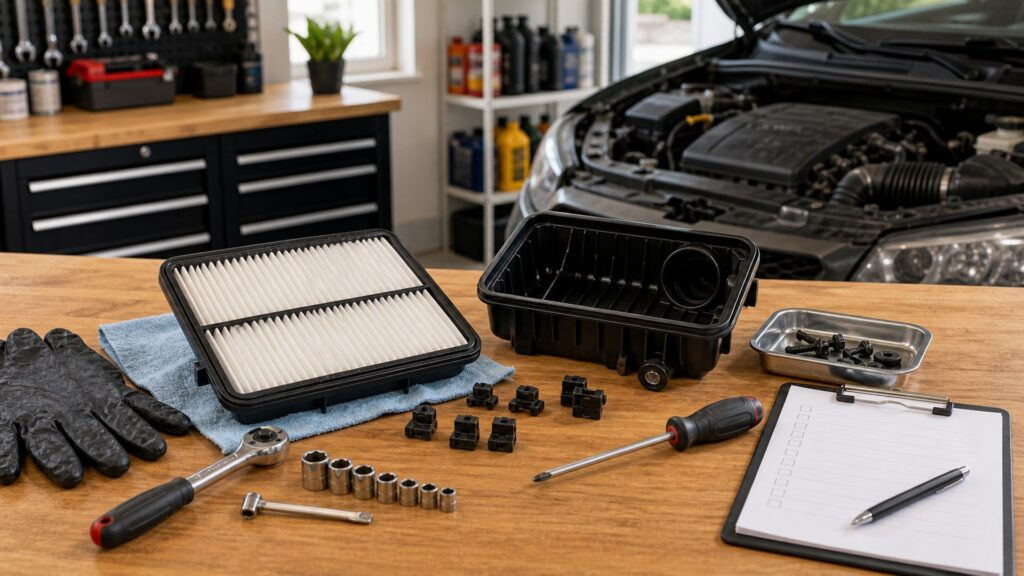
Top-access air filters: Usually the lowest-risk project when the correct element and housing are accessible. Protect the clean side, remove loose debris safely, inspect ducts and latches, seat the perimeter seal, and restore every hose and connector.
Spin-on oil filters: Plan hot-oil exposure, drain sequence, can clearance, filter wrench access, mounting-face inspection, gasket preparation, installation turns, approved oil, pressure indication, level, spills, and used-oil handling.
Cartridge oil systems: Use the correct low-profile cap socket and torque tool. Identify cap O-ring groove, drain plug or stem seals, standpipe, cage, element orientation, cap condition, undertray access, and the procedure's drain-before-open sequence.
External gasoline fuel filters: Fuel vapor, pressure, fire, brittle lines, quick-connects, and spill control increase risk. Follow pressure-relief and battery or ignition guidance, use compatible caps, and escalate when access or fittings are uncertain.
Diesel filters and separators: Cleanliness and removal of air are critical. Match primary or secondary position, water sensor, heater, bowl and drain seals, fill or prime method, venting, scan functions, and leak checks before starting.
What to pay attention to
Tools and interfaces that decide whether the job is controllable
The correct filter is only one part of a safe home service; access, seal placement, cleanliness, torque, and verification determine the outcome.
Job Control
Safe support, access, correct sockets, drains, clean zones, fuel and oil containment, fire control, and waste handling.
Installation Control
Exact part, seals, fluid, torque, priming, pressure, warnings, leak checks, levels, resets, and reinspection.
Vehicle support and access: Use designated lifting and support points, stable level ground, wheel restraint, suitable capacity, and the exact undertray or shield procedure. Never rely on a jack alone or crawl under an unsupported vehicle.
Cap, can, and drain tools: Choose the specified socket, cup, strap, or other tool that loads the component correctly. Generic pliers can crush cans, round plastic caps, damage fuel bowls, and make accurate torque impossible.
Seal identification and groove: Lay out every O-ring, gasket, washer, clip, and drain seal. Remove the old piece without scratching the groove, clean and inspect the land, lubricate only as specified, and place the new seal at the defined location.
Fluid and fuel handling: Use clean approved engine oil, compatible containers, correct quantity, fuel-safe caps, ventilation, no ignition sources, and local disposal. Do not mix used fluids or store gasoline in an open drain pan.
Torque and installation turns: Use the vehicle or component instruction for cap, drain, housing, fitting, and spin-on contact plus turns. Cross-threading or extra torque can crack housings, distort seals, strip pans, or complicate the next service.
Priming and pressure restoration: Know whether oil filters may be prefilled, how oil pressure is checked, how fuel pressure is relieved, and how diesel fuel is primed or bled. Improvised cranking can damage pumps, starters, batteries, or emission systems.
Release inspection: Check every disturbed connection, cap, drain, shield, oil level, fuel seepage, pressure or water warning, starting, idle, intake noise, and reset. Use bright lighting and recheck after shutdown when the procedure requires.
Avoid these traps
Home-service errors that turn a filter change into a repair
Most avoidable damage comes from incorrect tools, misplaced seals, contaminated openings, over-tightening, or incomplete pressure and leak checks.
Working under a jack: Hydraulic or scissor jacks are lifting devices, not a complete support system. Use the vehicle's approved support points and rated equipment on stable ground or choose a shop with a lift.
Using pliers on a cartridge cap: They concentrate force, round flats, crack plastic, and prevent torque control. Obtain the correct cap socket and verify whether the cap, drain, or stem itself needs replacement.
Installing the cap O-ring on the threads: Many cartridge systems place the large O-ring in a specific groove. A seal rolled onto the shoulder can cut or extrude and cause a major leak; follow the diagram exactly.
Opening fuel lines without pressure and fire planning: Fuel can spray, wick, or vaporize around ignition sources. Follow the exact relief procedure, ventilation, compatible containment, protective equipment, connector method, and leak verification.
Starting before a complete inspection: A loose drain, double gasket, missing fuel clip, open intake connector, low oil level, or unprimed diesel system can create immediate damage. Perform a deliberate tool-and-connection check first.
Decision guidance
Choose DIY only when every critical step is covered
Project suitability depends on the exact engine and access—not on whether a filter change sounds simple in general.
If the air filter is fully accessible: Proceed when the application, housing, ducts, connectors, seal, and cleaning method are clear. Stop if the cover will not close normally or dust is visible downstream.
If oil service requires lifting: Use approved ramps or stands, wheel restraint, drain access, protective equipment, correct tools, and a spill plan. Choose professional service when safe support or torque access cannot be achieved.
If the oil cap or drain is damaged: Do not add force to rounded plastic or stripped threads. Obtain the supported replacement or repair path and qualified help before the vehicle is disabled or emptied.
If a fuel filter is pressurized or inaccessible: Use a shop when pressure relief, fire-safe workspace, connectors, caps, priming, scan functions, or leak testing exceed the available equipment. Fuel leakage is not a learn-by-driving condition.
If abnormal debris or warnings appear: Preserve the filter and fluid, stop routine service assumptions, and diagnose metal, coolant, water, biological growth, pressure loss, or starting problems before normal operation.
Ownership & compatibility
Leave the garage and vehicle ready for the next service
A clean record and waste plan are part of completing the job.
Record parts and procedures: Save filter and seal numbers, fluid specification and quantity, torque source, pressure-relief or priming steps, date, mileage, warnings, resets, leak checks, photographs, and receipt.
Dispose responsibly: Store used oil, fuel, filters, absorbents, and contaminated water in compatible sealed labeled containers. Follow local recycling and hazardous-waste rules; never pour fluids into drains or onto the ground.
Inspect the workspace: Account for tools, rags, caps, old seals, protective plugs, and fasteners. Clean spills from tires, brakes, belts, exhaust, and walking surfaces under the appropriate safe method.
Schedule the recheck: Follow the procedure for oil level, cap or drain seepage, fuel connections, water sensor, intake housing, pressure or warnings after shutdown or the first drive. Record the result and address any change immediately.
FAQ
Home-garage engine-filter FAQ
Answers about lifting, cap tools, O-rings, oil filters, fuel pressure, priming, spills, and professional escalation.
Can I change an oil filter without lifting the vehicle?
Why do cartridge oil caps need special sockets?
Where does the large cartridge O-ring go?
Should I pre-fill a spin-on oil filter?
How do I relieve fuel pressure safely?
What if a diesel will not start after filter replacement?
How tight should a spin-on filter be?
Where can used filters and oil be taken?
When should a home filter job become professional work?
Bottom line
DIY the complete controlled service, not just the swap
Proceed only when access, hazards, tools, cleanliness, seals, torque, priming, verification, and disposal are all covered.
Read before opening: Map access, pressure, drains, seals, fluids, and resets.
Control the workspace: Use safe support, clean zones, containment, and fire precautions.
Install deliberately: Match parts, grooves, torque, fittings, priming, and level.
Verify and document: Check pressure, leaks, warnings, operation, waste, and reinspection.
Reading Shortcuts
Confirm application and condition first.
Decision Reminders
Checks to complete before committing.
- Confirm the exact application: Cross-check vehicle, engine, housing, and original part.
- Preserve removed-part clues: Contamination and damage can identify another fault.
- Keep the work clean: Keep downstream openings protected.
- Follow the procedure: Respect pressure, fluids, torque, priming, and resets.
- Inspect interfaces: Seals, caps, connectors, threads, and fittings must agree.
- Verify before release: Check leaks, warnings, starting, idle, and road behavior.
Glossary Snippets
Terms used in this decision.
When to Use a Top 10 Review
Use rankings after application and service scope are documented.
- Application confirmed: Filter with exact engine and interface evidence.
- Duty identified: Compare parts for the real interval and environment.
- Evidence published: Rank construction, testing, traceability, and support.
- Job scope complete: Include seals, fluids, tools, and verification.
Already down to 2–3 options? A Comparison is usually faster.
When to Use a Comparison
Compare finalists for the same verified application.
- Interfaces: Match dimensions, seals, valves, fittings, and connectors.
- Performance evidence: Compare documented efficiency, capacity, and service claims.
- Included content: List every seal, cap, sensor, boot, and fitting.
- Installed outcome: Price fluids, labor, priming, disposal, and downtime.
Still building a shortlist? Start with a Top 10.