
How to Choose Exterior Accessories & Protection for Off-Road and Travel Setups
Off-road and travel accessories face two different tests: direct terrain contact and thousands of miles of vibration, weather, and cargo load. A skid plate that protects one component may trap mud around another, while a carrier that works on pavement may reduce departure clearance or loosen on corrugations.
Build from route and vehicle limits. Map likely contact zones, recovery points, full steering and suspension travel, cooling openings, drains, service items, and the weight of people, water, fuel, tools, and gear. Choose structure-mounted protection and rated recovery hardware only where the use justifies their mass, then keep every fastener and damaged edge inspectable in the field.
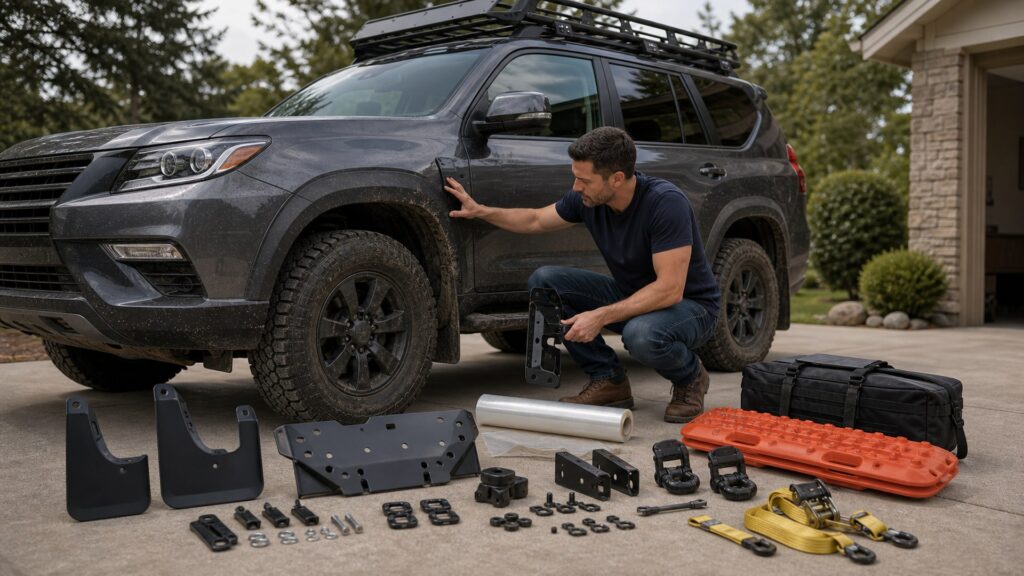
Buying framework
Protect the route's real contact zones
Armor and travel gear should be earned by a recurring task. Map force, mass, and clearance before adding hardware.
Describe terrain and travel: Separate rocks, ruts, brush, sand, mud, snow, corrugations, highway miles, and remote service needs.
Trace every load path: Confirm where armor, sliders, recovery points, racks, and carriers transfer force into frame or body structure.
Budget mass and clearance: Count installed hardware against payload and axles, then measure approach, breakover, departure, tire, and suspension movement.
Plan field access: Keep drains, filters, tow and recovery points, spare, jack, and critical fasteners reachable when the vehicle is dirty or loaded.
Who this is for
Match equipment to route severity
Occasional forest roads and technical rock travel do not need the same permanent build. Carry only the capability the route demands.
Gravel-road travelers: Prioritize tire-spray control, light underbody shielding, secure cargo, and corrosion-resistant mounts. Heavy armor may add little value to maintained-road travel.
Overland-style tourers: Payload, axle distribution, rack vibration, water and fuel placement, spare access, and repairability dominate. Modular carriers reduce permanent mass between trips.
Rock and rut users: Structure-mounted sliders, underbody armor, and rated recovery points become more relevant. Verify full suspension and steering clearance, cooling, and drain access.
Snow, mud, and coastal users: Cold flexibility, open drainage, mud cleanout, salt-resistant joints, and accessible recovery hardware matter more than sealed-looking panels that hold contamination.
What to pay attention to
Protection ratings that matter beyond the showroom
Material thickness is only one part of performance. Mount spacing, formed shape, load path, and access decide how the system behaves.
Impact & Recovery
Coverage, structure, material shape, mounting, recovery rating, and load direction.
Travel & Service
Mass, clearance, vibration, corrosion, cargo restraint, drains, and field access.
Coverage map: Armor should shield the identified component without transferring contact into vulnerable housings, lines, or unsupported panels.
Mounting span: Brackets and formed ribs distribute force; a thick flat plate with wide unsupported areas can still bend or push into the component behind it.
Recovery documentation: Use points identified for the vehicle and intended pull directions. Unrated loops, tie-downs, and tow balls are not substitutes.
Full-travel clearance: Check tires, steering, suspension, driveshafts, exhaust, brake hoses, doors, hatch, and carrier movement in the loaded condition.
Inspection and cleanout: Drain holes, removable panels, exposed fastener heads, and replaceable hardware make mud removal and field repair realistic.
Avoid these traps
Trail hardware that creates a new weak point
Appearance can hide poor mounting, excess mass, or blocked service access. Judge the part by force and maintenance.
Buying armor by thickness alone: Material, forming, span, brackets, fasteners, and load path work together. A thicker plate is not automatically stronger or better integrated.
Using unrated points for recovery: Shipping tie-downs, tow balls, and decorative loops may fail under dynamic load. Use documented recovery points and methods.
Ignoring combined build weight: Armor, racks, spare carriers, water, tools, and people can consume payload and overload an axle. Recalculate after every addition.
Sealing mud behind protection: Close-fitting panels can hold abrasive wet debris and block cooling or drains. Choose access and cleanout, then use them after travel.
Decision guidance
Add protection where consequence justifies mass
Start with route-critical equipment, not a complete catalog. Removable travel modules often preserve daily usability.
If roads are maintained but remote: Prioritize secure cargo, a suitable spare and tools, light splash protection, and accessible rated recovery provisions.
If underbody contact is likely: Protect the specific low components with vehicle-shaped armor that preserves cooling, drains, and service points.
If side contact is expected: Choose true structure-mounted sliders rather than cosmetic steps, and verify door, pinch-weld, and ground clearance.
If external gear dominates the build: Reduce dense roof cargo, protect axle and payload limits, secure every item, and preserve spare, hatch, camera, lamp, and departure clearance.
Ownership & compatibility
Inspect after impact, recovery, and corrugations
Off-road hardware is service equipment. Dirt can conceal movement, cracks, and coating loss.
Clean before judging: Remove mud and salt from plates, brackets, rails, carriers, drains, and recovery points so damage becomes visible.
Check load paths: Inspect fasteners, welds, elongated holes, bent plates, witness marks, receiver play, and changed panel gaps after hard use.
Restore and replace: Treat coating damage, replace deformed or corroded hardware, and retire recovery or securement equipment according to its inspection criteria.
FAQ
Off-road and travel setup questions
These answers address armor, recovery, weight, and service decisions.
Do I need skid plates for gravel-road travel?
What is the difference between rock sliders and running boards?
Can a tow ball be used as a recovery point?
How much weight do skid plates add to payload?
Should recovery points be fitted at both ends?
How do I prevent rack fasteners loosening on rough roads?
Can underbody armor cause overheating?
Where should heavy travel gear be carried?
What should be inspected after an off-road trip?
Bottom line
Build for the route, then keep the load path visible
Useful protection is specific, structural, and serviceable. Extra mass without a recurring need reduces rather than adds capability.
Map likely contact: Separate underbody, side, recovery, cargo, and weather needs by route.
Verify structure and limits: Use documented mounts and recovery points while protecting payload, axles, and clearance.
Clean and inspect: Reveal movement, corrosion, bends, and blocked drains after rough-road use.
Reading Shortcuts
Move from route exposure and field service priorities to a usable configuration.
Decision Reminders
Check the vehicle system, not one product claim.
- Route: Match hardware to actual terrain.
- Load path: Know what structure carries force.
- Mass: Count armor and carriers.
- Clearance: Check full travel and angles.
- Recovery: Use rated documented points.
- Service: Keep drains and fasteners reachable.
Glossary Snippets
Terms that clarify the important tradeoffs.
When to Use a Top 10 Review
Shortlist route exposure and field service products only after the governing vehicle limits and useful format are settled.
- Need defined: The recurring task is specific.
- Vehicle checked: Limits and interfaces are known.
- Format chosen: The product family is settled.
- Need options: Several valid designs remain.
Have finalists already? Open a Comparison for a closer tradeoff.
When to Use a Comparison
For route exposure and field service, rank competing designs against one defined vehicle and operating task.
- Fit: Both match the application.
- Duty: Both support the same load.
- Tradeoff: Convenience and protection differ.
- Upkeep: Inspection needs differ.
Need a broader field? Use a Top 10 to form a shortlist.