
How to Choose Floor Protection for Interior Fitment Checks
A model name alone is not a fit specification. Midyear changes, long- and short-wheelbase bodies, hybrid battery packaging, consoles, removable seats, factory subwoofers, retention posts, and cargo decks can divide one vehicle line into several incompatible floor applications. A nearly correct liner can bow at an edge or miss a critical anchor.
Perform fitment on a bare, dry floor. Confirm the catalog qualifiers, identify each piece by row and side, engage the factory locks, and press the perimeter into its intended contour. Operate pedals, seats, doors, vents, storage lids, and folding sections afterward. Reject interference, unstable edges, unexplained gaps, or a driver piece that depends only on friction.
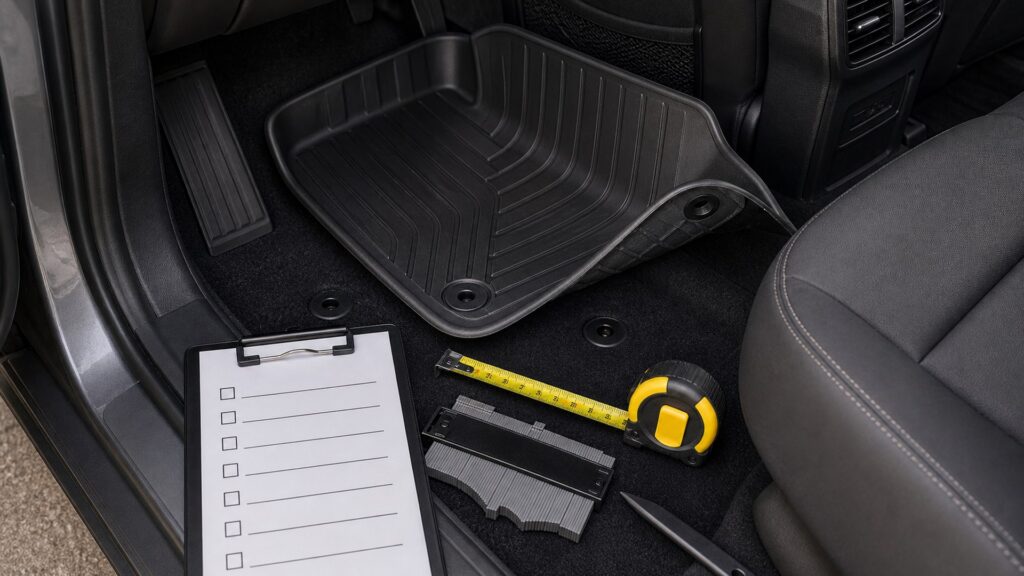
Buying framework
Measure every moving clearance
Build a configuration record detailed enough to distinguish visually similar cabins.
Decode the application listing: Match VIN-relevant model year, build date when specified, body length, cab or door count, drivetrain, transmission, seating, console, and factory options.
Survey the unprotected cabin: Measure anchor spacing, pedal zone, firewall rise, dead pedal, sill, center tunnel, row width, seat bases, vents, wiring, and floor-panel seams.
Dry-fit in sequence: Place identified pieces from the driver position rearward, lock anchors, settle contours, join overlaps as directed, and observe gaps without trimming.
Exercise the interior: Move controls and seats to limits, open every floor compartment, fold or remove rows, close doors, run under-seat airflow, and repeat pedal checks.
Who this is for
Match construction to interior fitment routines
Fitment changes whenever the protection meets a moving control, trim part, air path, or service cover.
Unchanged common configuration: Catalog photos, anchor details, and a returnable exact application may be sufficient when the cabin matches every listed qualifier.
Midyear or option-heavy model: Build-date notes, physical anchor measurements, console shape, battery or audio packaging, and manufacturer confirmation deserve extra weight.
Convertible passenger layout: Choose segmented pieces that remain correctly located as seats slide, fold, tumble, or leave the vehicle, without covering exposed mechanisms.
Owner combining passenger and cargo sets: Verify the meeting line between rear liners, seatback panels, and cargo deck in each configuration rather than buying them independently.
What to pay attention to
Specifications that change interior fitment performance
Anchor geometry and boundary behavior reveal more than a broad vehicle-name claim.
Measure every moving clearance
Compare catalog application, bare-floor contours, anchor spacing, pedal envelopes, row geometry, and configuration breaks before judging coverage.
Maintenance is part of performance
Cycle every neighboring component—seats, doors, vents, storage lids, folded rows, and cargo panels—while the fitted pieces remain installed.
Catalog qualifiers: Look for explicit exclusions and splits involving body length, cab, row count, seat style, console, drivetrain, transmission, battery, subwoofer, and production date.
Anchor geometry: Count posts or hooks, compare pitch and rotation, confirm locking force and release, and inspect whether adapters are approved for that exact piece.
Pedal envelope: Check accelerator, brake, clutch, parking brake, dead pedal, heel pivot, and lateral foot movement with the driver seat at both travel extremes.
Perimeter registration: The molded edge should settle beside firewall, console, sill, tunnel, and seat base without inward curl, outward lift, tension, or door-seal conflict.
Dynamic clearances: Preserve track travel, electrical looms, occupant sensors, heater ducts, floor vents, removable-seat latches, third-row feet, and underfloor handles.
Set-to-set junctions: Inspect rear bridges, row overlaps, seatback extensions, split-fold seams, and cargo transitions for gaps, buckling, friction, or unintended double thickness.
Avoid these traps
Mistakes that undermine interior fitment
Forcing an almost-correct part can create bulges, inaccessible hardware, or movement toward controls.
Ordering from year and model only: Broad selectors can conceal body, seat, console, and production splits; read every qualifier and compare the actual cabin before opening retention hardware.
Cutting a molded driver liner to make it fit: Trimming can remove engineered edges or alter clearance without creating proper anchors; exchange an incorrect application instead of improvising.
Forcing edges beneath trim: A liner should not rely on wedging near panels, tracks, or pedals; stored stress can release later as temperature changes.
Ignoring passenger-side hardware: Rear mats can block vents, seat locks, wiring covers, or third-row mechanisms even though they never approach driving controls.
Decision guidance
Choose the right protection pattern
Accept only applications whose catalog evidence and physical trial agree.
Approve a cataloged exact match: Proceed when every configuration qualifier, anchor, contour, moving clearance, and row transition agrees with the physical vehicle.
Request manufacturer confirmation: Provide VIN details, build date, cabin photos, anchor measurements, and option information when the selector leaves a meaningful ambiguity.
Use separate zone solutions: Mix compatible front, rear, or cargo products when no complete set fits the configuration, keeping edges independent and avoiding stacked junctions.
Return uncertain driver pieces: Any unresolved anchor, pedal, curl, side assignment, or configuration question disqualifies the mat from driver-footwell use.
Ownership & compatibility
Keep the system clean and correctly positioned
Recheck geometry after heat cycles, washing, seat reconfiguration, and interior service.
Watch for fit migration: Temperature, washing, storage, passengers, and repeated seat movement can reveal edge lift or anchor stress absent during the first dry fit.
Revalidate after cabin work: Seat removal, carpet replacement, console service, wiring repairs, audio changes, battery access, or trim replacement requires a complete clearance check.
Keep application evidence: Retain part numbers, catalog qualifiers, installation photos, anchor measurements, correspondence, purchase date, and separately available replacement-piece details.
FAQ
Questions about interior fitment floor protection
Use the exact part instructions and the vehicle owner's guidance for the final determination.
Why do two cars from the same model year need different liners?
Can I add holes for factory retainers?
How are anchor locations compared?
Should a molded edge tuck under the console?
Do seat positions affect floor-mat fit?
What if the liner covers an under-seat vent?
Can rear pieces overlap each other?
How should fit be checked in a three-row vehicle?
Is a small perimeter gap always a defect?
Bottom line
Make safe fit the permanent baseline
Good coverage follows the cabin without becoming part of its moving mechanisms.
Identify the precise cabin: Resolve production, body, seating, console, drivetrain, anchor, and option splits before ordering.
Test every interface: Lock the pieces down, prove pedal freedom, and cycle seats, doors, vents, compartments, rows, and cargo sections.
Reject forced geometry: Do not trim, wedge, stack, or keep a driver mat whose intended application remains uncertain.
Reading Shortcuts
Move through the moving-cabin fit and clearance decision in order.
Decision Reminders
Fitment is proven by configuration and movement, not model name alone.
- Decode the application listing: Verify and record this requirement.
- Survey the unprotected cabin: Verify and record this requirement.
- Dry-fit in sequence: Verify and record this requirement.
- Watch for fit migration: Verify and record this requirement.
- Revalidate after cabin work: Verify and record this requirement.
- Keep application evidence: Verify and record this requirement.
Glossary Snippets
Terms used in this floor protection plan.
When to Use a Top 10 Review
Use rankings only after the requirements are fixed.
- Identify the precise cabin: Use this as a shortlist filter.
- Test every interface: Use this as a shortlist filter.
- Reject forced geometry: Use this as a shortlist filter.
- Exclude: Use this as a shortlist filter.
Already down to 2–3 options? A Comparison is usually the faster next step.
When to Use a Comparison
Compare finalists through the retainer, edge, pedal, seat-track, door, removal, spill, cleaning, and dry-floor check; make VIN application an explicit recorded result.
- Decode the application listing: Check both candidates against this requirement.
- Survey the unprotected cabin: Record the result for each shortlisted option.
- Dry-fit in sequence: Use the same operating conditions for both tests.
- Exercise the interior: Keep the evidence with the final decision.
Still exploring? Start with a Top 10 to build a shortlist first.