
How to Choose Ignition Components for Home Garage Repair Projects
A home-garage ignition project succeeds when diagnosis, access, cleanliness, tooling, and verification are planned as one job. A trouble code and a socket set are not enough if the work also requires intake removal, thread repair, energized testing, or programming.
Read the exact service procedure, stage tools and dependent seals, label every cylinder position, and protect open wells and aluminum threads. Decide in advance which findings require stopping and transferring the vehicle rather than turning a controlled repair into an expensive recovery.
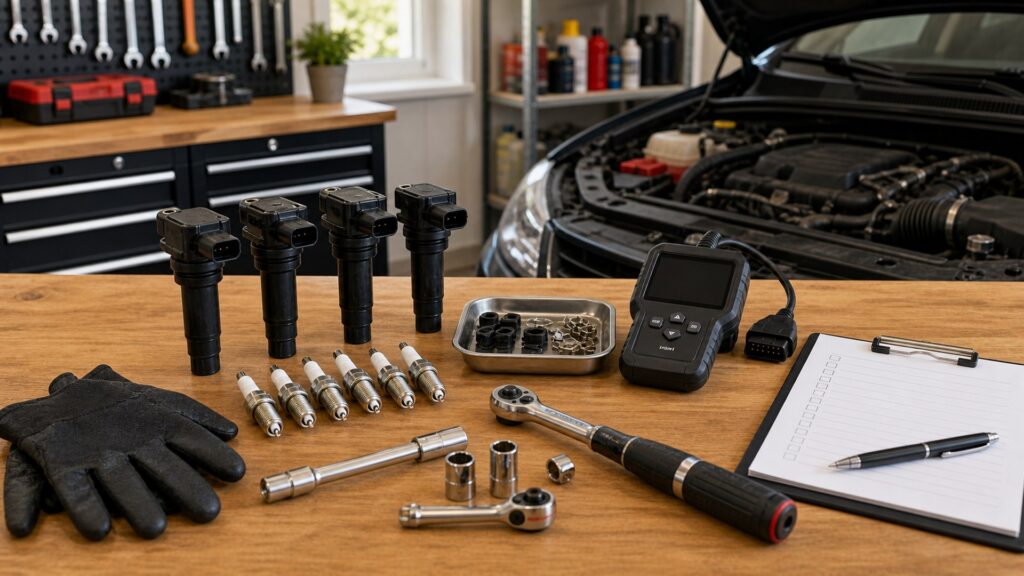
Buying framework
Decide whether the ignition job belongs in the home garage
A successful DIY project requires a supported diagnosis, safe access, clean plug-well control, correct tools, thread protection, connector discipline, and enough scan data to verify the original complaint.
Define the job before buying parts: Capture symptoms, codes, freeze-frame, misfire counters, temperature, load, and recent work. Determine whether the task is scheduled plug service, a verified coil replacement, connector repair, or unresolved diagnosis requiring fuel or mechanical tests.
Read the complete service procedure: Review engine temperature, battery isolation, intake or cowl removal, debris cleaning, cylinder numbering, plug gap handling, torque, connector releases, gaskets, relearns, and road verification. Stop if critical information or a required special tool is missing.
Assess access and hazards honestly: Look for hot exhaust, deep wells, fragile intake parts, inaccessible rear banks, fuel lines, lifting needs, high secondary voltage, battery acid, and moving components. Energized testing belongs only within approved procedures and training.
Stage clean tools and position control: Prepare the correct plug socket, extensions, torque wrench range, scan tool, approved debris-removal method, labels, magnetic retrieval aid, connector tools, and protective caps. Work one cylinder at a time when routing or position could be confused.
Set explicit stop and release points: Stop for crossed or seized threads, broken ceramic, damaged connectors, liquid in a cylinder, uncertain compression, fuel leakage, or programming beyond the equipment. Release only after the original condition and required monitors are checked.
Who this is for
DIY suitability changes with access and diagnostic depth
An open-top plug service is different from intake removal, thread repair, wiring diagnosis, or energized secondary testing.
Accessible scheduled plug changes: These projects are reasonable when the manual is clear, the engine can be worked at the specified temperature, wells are clean, threads are healthy, and the correct socket, torque wrench, and verification tool are available.
Deep-well coil-on-plug engines: Add debris control, boot extraction, spring inspection, oil or water diagnosis, and connector handling. Never allow loose dirt or tool fragments to fall toward an open cylinder, and label every removed coil.
Engines requiring intake removal: Price new gaskets, torque sequences, vacuum and electrical connections, brittle hoses, fuel-system proximity, and duplicated labor. Photograph routing and stop if the procedure enters systems beyond the planned ignition work.
Connector or pigtail repairs: Use supported terminals, seals, conductor size, crimping, strain relief, and pinout documentation. Twisted wires and generic connectors can create heat-sensitive intermittent faults that are harder to diagnose than the original problem.
Active misfire diagnosis: A code does not identify the failed part. DIY diagnosis needs safe scan access and a supported path for plug, coil, injector, wiring, compression, and vacuum evidence; otherwise professional testing can cost less than speculative parts.
What to pay attention to
Project controls that protect the engine and technician
The home garage needs enough information, access, cleanliness, tooling, thread control, electrical discipline, torque accuracy, and verification capability to complete the job safely.
Execution readiness
Procedure, safe state, access, tools, cleanliness, labels, torque, and dependent parts.
Diagnostic readiness
Codes, counters, cylinder tests, related-system evidence, relearns, and post-repair operation.
Diagnostic confidence: Know what evidence points to the selected part and what non-ignition causes remain. Save freeze-frame and counters before clearing; do not turn a P030x code into an automatic coil purchase.
Safe working state: Follow instructions for engine temperature, battery disconnection, memory retention, key control, lifting, fuel proximity, and ventilation. Secondary ignition and battery current can injure or damage electronics when improvised tests are used.
Tool fit and calibration: Use the correct plug socket, extension alignment, torque-wrench range, gap tool if permitted, connector release, and retrieval method. A large torque wrench at its lower limit or a loose universal joint can reduce control.
Plug-well cleanliness: Remove loose debris before plug removal using the approved method, identify oil or water, and protect exposed openings. Do not wash contamination toward the cylinder or use uncontrolled compressed air around fuel and eyes.
Thread and seat protection: Start each plug by hand, feel for abnormal resistance, match gasket or taper seat, and use the specified thread condition and torque. Tightening force must never be used to draw a crossed plug into an aluminum head.
Connector and routing discipline: Release locks without pulling wires, inspect terminal tension and seals, support brittle housings, and restore harness clips and heat shields. Photograph firing order and wire paths before disturbing multiwire systems.
Verification capability: Use a scan tool or other specified equipment to check codes, pending faults, counters, starting, idle, and safe load behavior. Plan any relearn, drive cycle, or battery support before declaring the project finished.
Avoid these traps
Home-garage errors that damage threads or erase evidence
Most preventable problems come from hot or dirty access, improvised tools, mixed cylinder positions, forced connectors, universal torque habits, and incomplete verification.
Removing plugs from the wrong engine condition: Aluminum heads, deposits, and access procedures can be temperature-sensitive. Follow the specified hot, warm, or cold instruction and never substitute urgency for the vehicle's thread-protection method.
Opening a dirty well: Debris can fall into the cylinder or jam the socket and seat. Inspect first, clean using the approved method, and investigate oil or water before the plug is loosened.
Using anti-seize or dielectric grease everywhere: Both materials have specific locations and can cause trouble when misapplied. Lubricant alters thread friction; excess dielectric material can obstruct terminal contact. Follow exact plug, boot, and vehicle guidance.
Forcing a brittle connector: Locks, secondary retainers, heat damage, and access angle matter. Use the correct release, support the housing, and switch to a supported pigtail repair when terminals or seals are compromised.
Clearing codes and calling the idle good: The original fault may require heat, load, moisture, or a monitor cycle. Save data, reproduce conditions safely, and check pending faults and counters instead of relying on a quiet driveway idle.
Decision guidance
Match the project to the available skill and equipment
Proceed when the procedure, diagnosis, access, tools, parts, and verification form one complete plan; stop when any safety-critical link is missing.
If the job is routine plug maintenance: Proceed with the exact plug set, access seals, clean-well method, hand starting, gap instruction, calibrated torque, and post-service checks. Preserve removed plugs by cylinder so scheduled work still contributes diagnostic evidence.
If one coil is strongly implicated: Confirm the approved test, plug and boot condition, connector, well contamination, and cylinder data before replacement. Retest both original and comparison cylinders when a swap was used.
If intake removal is required: Continue only with the full removal and torque procedure, replacement gaskets, routing photos, fluid and fuel precautions, and enough time. An incomplete reassembly can create vacuum or wiring faults unrelated to ignition.
If a plug resists or threads feel wrong: Stop turning, reassess alignment and debris, and use qualified thread inspection or repair. Forcing the plug risks cylinder-head removal, broken ceramic, metal contamination, and a much larger repair.
If diagnosis reaches fuel, compression, or programming: Use appropriate professional equipment or transfer the vehicle with saved codes, counters, parts positions, and test results. Good DIY judgment includes recognizing when the next test is outside the project's safe boundary.
Ownership & compatibility
Keep the home-garage repair reproducible
A simple job file protects cylinder identity, tool settings, parts traceability, and the meaning of later warning data.
Save the preparation record: Keep VIN, engine, procedure source, plug and coil numbers, gaskets, tools, torque-wrench range, engine temperature, and safety steps. Photograph routing and connectors before disassembly.
Label every cylinder position: Store plugs, coils, boots, and wires by position until verification. Record gap, deposits, tracking, oil, water, terminal corrosion, and any part that differed from its neighbors.
Document installation and cleanup: Note hand starting, torque, gap handling, connector locks, harness routing, seals, intake fasteners, removed debris, spill cleanup, and proper disposal of damaged parts or chemicals.
Archive the release test: Save codes, pending faults, counters, cold and hot starts, idle, safe road response, retained settings, and relearns. Recheck leaks and disturbed connections after the first heat cycle where specified.
FAQ
Home-garage ignition repair FAQ
Answers about tools, engine temperature, debris, torque, gap, connectors, diagnosis, and stop conditions.
Can a basic code reader diagnose a bad ignition coil?
Should spark plugs be removed from a hot engine?
How should debris be removed from plug wells?
Is a torque wrench really necessary for spark plugs?
Can a new fine-wire plug be regapped?
Where should dielectric grease be applied?
What if a coil connector lock breaks?
When should a seized spark plug go to a shop?
What proves the DIY repair is complete?
Bottom line
Proceed only with a complete and verifiable garage plan
The right DIY ignition project fits the diagnosis, access, tools, cleanliness controls, skill, and release equipment available at home.
Know the fault: Save codes and conditions, then separate ignition from fuel and mechanical causes.
Control the opening: Use safe temperature, clean wells, labels, correct sockets, and protected threads.
Follow exact instructions: Respect gap handling, torque, connector locks, routing, seals, and relearns.
Stop and verify: Escalate damaged threads or advanced diagnosis, then retest the original event.
Reading Shortcuts
Confirm application and condition first.
Decision Reminders
Checks to complete before committing.
- Confirm the exact application: Cross-check vehicle, engine, housing, and original part.
- Preserve removed-part clues: Contamination and damage can identify another fault.
- Keep the work clean: Keep downstream openings protected.
- Follow the procedure: Respect pressure, fluids, torque, priming, and resets.
- Inspect interfaces: Seals, caps, connectors, threads, and fittings must agree.
- Verify before release: Check leaks, warnings, starting, idle, and road behavior.
Glossary Snippets
Terms used in this decision.
When to Use a Top 10 Review
Use rankings after application and service scope are documented.
- Application confirmed: Filter with exact engine and interface evidence.
- Duty identified: Compare parts for the real interval and environment.
- Evidence published: Rank construction, testing, traceability, and support.
- Job scope complete: Include seals, fluids, tools, and verification.
Already down to 2–3 options? A Comparison is usually faster.
When to Use a Comparison
Compare finalists for the same verified application.
- Interfaces: Match dimensions, seals, valves, fittings, and connectors.
- Performance evidence: Compare documented efficiency, capacity, and service claims.
- Included content: List every seal, cap, sensor, boot, and fitting.
- Installed outcome: Price fluids, labor, priming, disposal, and downtime.
Still building a shortlist? Start with a Top 10.