
How to Choose Interior Comfort for Seat, Dash, and Console Layouts
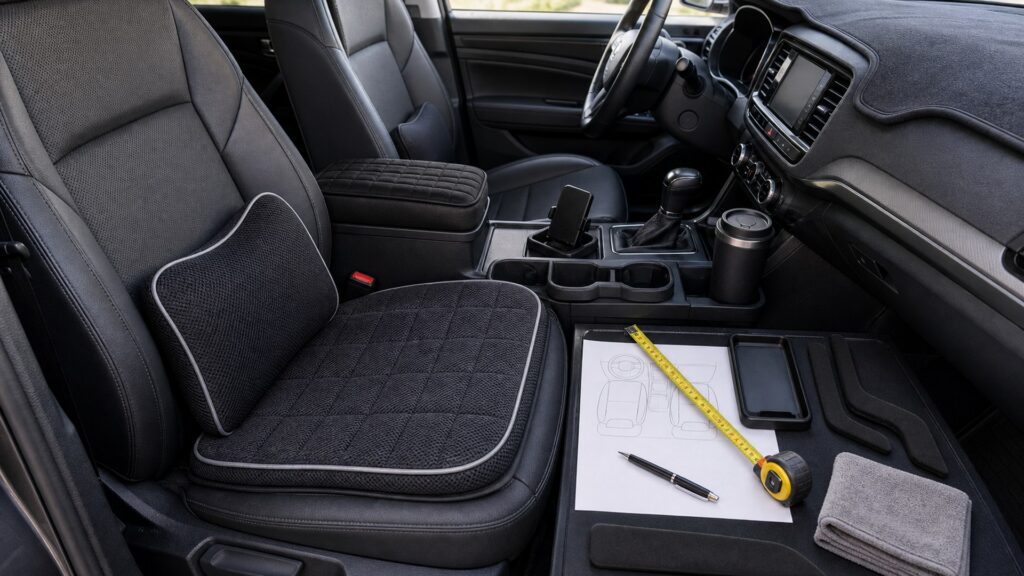
Seat, dashboard, and console accessories alter a tightly engineered workspace. Extra cushion thickness changes hip height and pedal reach; a side strap can cross an airbag seam; a console pad can load a hinge; and a dashboard cover can reflect in the windshield or slow defrost airflow. Comfort is not isolated from control geometry.
Set the factory seat, wheel, belt, head restraint, mirrors, and climate outlets first. Add one item, then repeat entry, full seat travel, pedal operation, steering, shifter and brake use, console opening, window views, and HVAC modes while parked. Follow exact vehicle restrictions for airbags and occupant sensing. Reject any accessory that migrates, hides a warning, or needs improvised attachment.
Buying framework
Define the layout-aware comfort job before shopping
Turn the layout-aware comfort goal into measurable zones, loads, access rules, and safety exclusions.
Factory baseline: Record seat, wheel, mirrors, belt, head restraint, lumbar, controls, and vent positions before an accessory changes them.
Body-position delta: Measure how loaded thickness shifts hips, knees, shoulders, head, pedal reach, steering clearance, and outward view.
Safety-interface map: Locate seat airbag seams, occupant sensors, buckles, pretensioner paths, knee panels, and marked dashboard deployment areas.
Movement rehearsal: Cycle seats, console lids, shifter, parking brake, pedals, doors, visors, screens, and storage with the product occupied and empty.
Who this is for
Match storage to the people using it
Different occupants and routines place different demands on layout-aware comfort products.
Short driver refining reach: Use a minimal support only after factory adjustments, confirming safe pedal travel, wheel clearance, belt routing, head restraint, and forward view.
Tall driver managing pressure: Seek targeted support that preserves thigh clearance, steering range, roof space, mirrors, entry, and side-airbag geometry.
Front passenger seeking comfort: Passenger-seat products require explicit occupant-classification and airbag compatibility plus stable posture and buckle access.
Shared vehicle household: Favor quickly removable, labeled aids with documented neutral settings so each driver can restore an uncompromised factory baseline.
What to pay attention to
Evidence that predicts layout-aware comfort performance
Judge specifications by what they change in the exact vehicle during layout-aware comfort use.
Occupant Geometry
Measure posture, pressure, wheel and pedal reach, belt routing, head restraint, mirror view, and entry with the comfort aid loaded.
Cabin Interfaces
Trace airbag seams, sensors, seat rails, wiring, console hinges, vents, defroster outlets, displays, and stored-accessory paths.
Cushion stability: Test sliding, rolling edges, strap tension, compression, heat, and recovery through the longest intended drive.
Console compatibility: Confirm padded covers preserve latch engagement, hinge motion, arm clearance, controls, ports, cupholders, and emergency access.
Dashboard optical behavior: Inspect glare and ghost reflections in direct sun, shade, darkness, and wet weather without covering sensors or defroster outlets.
Airflow preservation: Compare face, floor, rear, and glass-clearing modes with every pad, fan, shade, cable, and stored item in place.
Electrical routing: Keep powered comfort leads within circuit ratings and outside rails, pedals, sharp trim, hot surfaces, airbags, and passenger movement.
Removal discipline: Prove the item can be detached and secured without leaving hooks, cords, residue, or loose hardware in the cabin.
Avoid these traps
Errors that undermine layout-aware comfort
A convenient container fails when it creates movement, interference, or distraction within the layout-aware comfort layout.
Buying by thickness alone: Unloaded dimensions do not predict compressed posture; test the occupied geometry through braking, steering, entry, and a representative drive.
Tucking straps beside an airbag seam: Do not infer a safe route from appearance; use only attachment methods permitted by the vehicle and product manufacturers.
Covering the dashboard to reduce heat: A cover can affect reflections, sensors, deployment panels, and defrost flow; map those functions before adding material.
Leaving a removed cushion loose: An unused comfort item is cargo; place it in restrained storage before the vehicle moves.
Decision guidance
Choose a workable layout-aware comfort layout
Select the smallest arrangement that proves the required layout-aware comfort outcome.
Choose targeted seat support: Address one documented pressure or posture problem with the thinnest stable solution that passes all control and restraint checks.
Choose a console-contact pad: Accept it only when the lid, latch, hinge, ports, controls, and emergency access retain their intended operation.
Choose parked-only dashboard shading: Use a clearly defined install and removal state, then secure the shade before driving and restore every required view.
Keep the factory layout: When a proposed benefit cannot be separated from sensor, airbag, control, or visibility uncertainty, no accessory is the defensible selection.
Ownership & compatibility
Keep the layout-aware comfort system dependable
Inspection and deliberate resets preserve the original layout-aware comfort decision.
Recheck occupied geometry: Compression and strap stretch can shift the user over time, so repeat reach, belt, head-restraint, and view measurements.
Inspect contact surfaces: Remove accessories to find abrasion, dye transfer, heat damage, trapped moisture, adhesive residue, or hidden upholstery change.
Audit after service or driver changes: Seat repairs, software work, new occupants, and changed settings require a fresh interface map and parked movement trial.
FAQ
Questions to settle before purchase
Resolve these product-specific questions with the vehicle and accessory instructions.
How should I verify factory baseline in this vehicle?
How should I verify body-position delta in this vehicle?
How should I verify safety-interface map in this vehicle?
How should I verify movement rehearsal in this vehicle?
How should I verify cushion stability in this vehicle?
How should I verify console compatibility in this vehicle?
How should I verify dashboard optical behavior in this vehicle?
How should I verify airflow preservation in this vehicle?
How should I verify electrical routing in this vehicle?
Bottom line
Build a safer, calmer cabin
The best layout-aware comfort setup stays restrained, accessible, reversible, and easy to audit.
Map the real cabin: Measure the spaces, movements, loads, and exclusions that govern the layout-aware comfort goal.
Prove every transition: Rehearse the representative parked sequence with normal users and contents before accepting the layout-aware comfort arrangement.
Reset and inspect: Remove clutter, restore layout-aware comfort clearances, and retire damaged parts before the planned use degrades.
Reading Shortcuts
Move through the seat, dashboard, and console comfort fit decision in order.
Decision Reminders
A comfort gain is valid only while the original driving geometry remains safe.
- Factory baseline: Verify and record this requirement.
- Body-position delta: Verify and record this requirement.
- Safety-interface map: Verify and record this requirement.
- Recheck occupied geometry: Verify and record this requirement.
- Inspect contact surfaces: Verify and record this requirement.
- Audit after service or driver changes: Verify and record this requirement.
Glossary Snippets
Terms used in this interior comfort plan.
When to Use a Top 10 Review
Use rankings only after the requirements are fixed.
- Map the real cabin: Use this as a shortlist filter.
- Prove every transition: Use this as a shortlist filter.
- Reset and inspect: Use this as a shortlist filter.
- Exclude: Use this as a shortlist filter.
Already down to 2–3 options? A Comparison is usually the faster next step.
When to Use a Comparison
Compare finalists through the full seat travel, control reach, sight-line, airbag-clearance, console-access, and HVAC-flow trial; make hip point an explicit recorded result.
- Factory baseline: Check both candidates against this requirement.
- Body-position delta: Record the result for each shortlisted option.
- Safety-interface map: Use the same operating conditions for both tests.
- Movement rehearsal: Keep the evidence with the final decision.
Still exploring? Start with a Top 10 to build a shortlist first.