
How to Choose Tools & Garage Equipment for Repair Planning
A repair-ready garage is not defined by how many sockets hang on the wall. It is defined by whether the tools cover every step between confirming the fault and verifying the finished work. A brake service, suspension replacement, fluid job, or electrical diagnosis can each demand a different mix of access tools, measuring equipment, vehicle support, lighting, fluid control, and specialty fixtures.
Start with the service procedure, not a catalog bundle. Mark each fastener, measurement, lifting point, holding operation, consumable, and final torque before the vehicle is disabled. That process reveals which equipment is essential, which convenience upgrades earn their space, and which expensive specialty tools make more sense to rent or borrow.
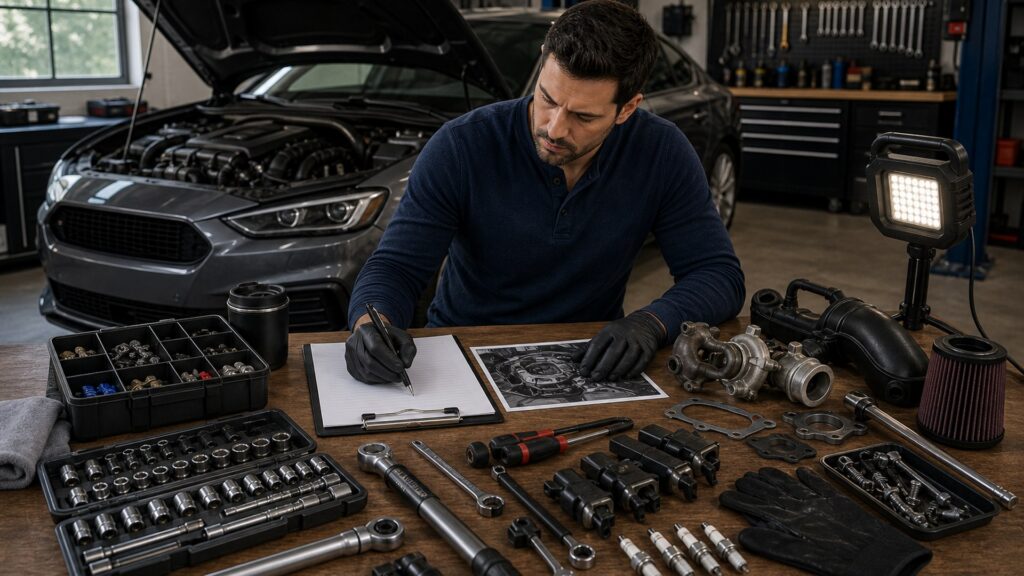
Buying framework
Turn the repair procedure into an equipment plan
A complete tool plan follows the sequence of the job. Build the list in layers so missing access, support, or verification equipment appears before the first component is removed.
Write the removal and installation sequence: Read the vehicle-specific procedure and list each operation: raise, shield removal, disconnect, hold, loosen, pull, measure, clean, install, torque, refill, bleed, calibrate, or test. A generic mechanic's set may cover the obvious fasteners while missing a thin wrench, puller, trim tool, pressure adapter, or holding fixture that actually gates the repair.
Separate access from fastener size: Knowing that a bolt has a 15 mm head does not show whether a standard socket will reach it. Check socket depth, six-point or specialty profile, extension length, wobble or universal-joint clearance, ratchet swing, handle length, and room for a torque wrench during reassembly.
Design the lift-and-support state: Determine where the vehicle maker permits lifting and supporting, how high the work must be, and whether wheels, suspension, or drivetrain parts will change the load distribution. Match the jack, stands, ramps, chocks, or lift to the vehicle, floor, contact points, working height, and manufacturer instructions—not curb weight alone.
Plan measurement and verification: List the values that decide success: specified torque, voltage drop, resistance, runout, gap, fluid level, pressure, live data, or alignment marks. Choose instruments with suitable ranges, probes, adapters, resolution, and vehicle coverage, then include the final check that confirms the repair rather than merely clearing a warning.
Stage parts, fluids, and stop-work gaps: Lay out replacement parts, single-use hardware, seals, cleaners, lubricants, drain capacity, absorbents, labels, and trays. Flag any tool whose absence would leave the vehicle immobile; secure that item before starting, even if it means reserving a rental instead of buying another broad set.
Who this is for
Match the garage investment to the repairs you actually perform
Repair frequency and job type should determine where the budget goes. The goal is dependable coverage for your work, not a professional-shop inventory assembled without a use case.
Scheduled-maintenance owners: Oil, filters, batteries, bulbs, and tire rotations reward a compact core: correct sockets, low-profile access where needed, a suitable torque wrench, safe lifting or ramps, a drain system, task lighting, and tidy consumable storage. Easy setup and cleanup matter more than maximum power.
Weekend mechanical DIYers: Brake, cooling, steering, suspension, and accessory-drive work expands the need for breaker bars, specialty sockets, pullers, fluid-service tools, stable support, and organized hardware. Build depth around the vehicles you maintain, then rent low-frequency press or extractor kits until repeat use justifies ownership.
Electrical and drivability troubleshooters: Put more money into reliable measurements and information than into oversized socket assortments. Back-probe leads, fused jumper leads, a capable multimeter, clear wiring information, and verified scan-tool module coverage matter; a basic code reader alone cannot test every circuit or command supported components.
Restoration and long-duration project owners: Months-long disassembly makes labeling, parts bins, mobile work surfaces, fastener records, rust-control tools, and vehicle mobility unusually important. Choose storage that preserves the relationship between hardware and assemblies, and plan how the car will move if one bay must serve other work.
Small-shop and high-frequency users: Repeated jobs justify duplicate common tools, stronger carts, faster diagnostic access, durable lighting, air or charging infrastructure, and procedure-specific fixtures that reduce bay time. Inspectability, replacement parts, service support, and consistent availability often outweigh the lowest purchase price.
What to pay attention to
Tool specifications that change the repair outcome
Headline numbers rarely describe the whole fit. Compare the interface, useful range, geometry, and supporting infrastructure against the exact step where the equipment will work.
Vehicle Access & Fastener Control
This lens covers how tools reach the work and apply force: drive interfaces, socket shape, ratchet arc, handle clearance, torque range, lift height, support geometry, and vehicle contact points.
Diagnosis & Bay Readiness
This lens covers what keeps the job informed and organized: scan functions, electrical measurement, task lighting, fluid handling, parts staging, power or air supply, and post-repair verification.
Drive size and socket profile: A 1/4-inch drive suits compact access and lighter fasteners, 3/8-inch covers much general work, and 1/2-inch equipment serves larger loads, but the procedure should decide. Six-point sockets give strong engagement on common hex heads; deep, thin-wall, impact-rated, external Torx, hex-bit, or flare-nut tools are separate requirements, not interchangeable bonuses.
Head depth, articulation, and swing arc: A slim ratchet head or flex head can clear housings that block a bulky tool, while a finer mechanism needs less handle movement between turns. Extensions and universal joints improve reach but can reduce control; confirm that the final tightening tool can reproduce the access path without binding.
Torque range and direction: Choose a torque wrench whose usable range comfortably contains the specified value and whose drive size fits the fastener scale. Confirm whether the tool measures in the needed direction, how its indication is read, and what the maker requires for operation, storage, or calibration. An impact tool is for speed, not final torque verification.
Lift capacity, minimum height, and support range: Capacity must exceed the load applied under the equipment's instructions, but geometry determines usability. Compare jack saddle height with ground clearance, maximum lift with stand engagement, contact-pad shape with approved lift points, and the stand base with the actual floor. Follow vehicle and lifting-equipment documentation for placement and stability.
Diagnostic functions and vehicle coverage: OBD-II connection is only the starting point. Compare supported model years and modules, enhanced codes, live-data parameters, graphing, service functions, bidirectional tests, update terms, and whether the device clearly identifies unsupported functions. For electrical faults, pair scan data with suitable circuit-testing equipment rather than guessing from a code.
Power, air, and runtime requirements: Cordless tools simplify movement but add battery and charger planning; pneumatic tools depend on compressor airflow, pressure, hose size, moisture control, and noise; corded tools need safe routing and outlet capacity. Compare the repeated workload and bay infrastructure, not just peak torque or no-load speed.
Lighting, fluid capacity, and workholding: A light should illuminate the fastener without blinding the user or casting the tool's shadow across the target. Drain equipment needs enough volume and stable positioning for the service. Vises, trays, magnetic dishes, and stands should hold parts without damaging sealing surfaces, threads, connectors, or finishes.
Avoid these traps
Buying shortcuts that create mid-repair problems
Most expensive tool mistakes begin with an appealing proxy: piece count, maximum output, or a universal-coverage claim. Replace those proxies with a check against the actual vehicle and procedure.
Judging sets by piece count: A case can look comprehensive because it includes repeated bit sizes, small accessories, and several drive adapters. Audit the required fastener profiles, depth, access geometry, and working ranges instead. Missing one specialty socket can matter more than dozens of spare bits.
Using removal power as the only metric: High breakaway claims can help with stubborn hardware, but they do not guarantee controlled installation, compact access, or an air and battery system that sustains the work. Budget separately for final torque control and hand tools that preserve feel around smaller fasteners.
Assuming a connector guarantees diagnosis: A scan tool may plug into the vehicle yet lack the module, data parameter, active test, or model-year support needed for the fault. Check the vendor's current coverage for the exact vehicle and function, and identify which mechanical or electrical measurements must corroborate the scan data.
Planning support after disassembly starts: A jack that raises the car is not automatically a safe working support, and one set of stands may conflict with the component being removed. Establish approved contact points, wheel restraint, stand placement, working height, and load changes before loosening anything under the vehicle.
Buying every specialty tool: Ownership can be poor value when an extractor, installer, press kit, or programming device serves one repair and then occupies storage for years. Compare purchase with rental availability, deposit terms, tool condition, reservation timing, and the cost of returning a vehicle to operable condition.
Decision guidance
Choose the next purchase by the gap in the repair plan
Once the procedure is mapped, purchases become easier to rank. Spend first on equipment that protects the vehicle and user, then on tools that unlock or verify critical steps, and finally on speed or convenience.
If several upcoming jobs share common fasteners: Buy a coherent core of well-fitting sockets, ratchets, wrenches, extensions, drivers, pliers, a breaker bar, and appropriate torque tools. Fill uncommon profiles individually rather than selecting the largest case. Shared organizers or rails make it obvious when a required size is missing.
If one procedure requires an expensive specialty tool: Reserve a correct rental, loaner, or professional service before disabling the vehicle. Purchase only when repeat use, local availability, tool condition, turnaround time, and storage support the economics. Confirm that every included adapter matches the component and vehicle variant.
If the fault is not yet isolated: Prioritize information and measurement: service data, a suitable meter and leads, verified scan coverage, pressure or vacuum testing where the procedure calls for it, and safe access to test points. More removal tools will not compensate for replacing parts before proving the cause.
If work underneath the vehicle is recurring: Treat lifting and support as a system upgrade, not an accessory purchase. Compare the vehicle fleet, wheelbase, weight distribution, ground clearance, lift points, ceiling and floor constraints, working height, inspections, and operator instructions. If the environment cannot support the equipment safely, use another facility.
If setup time keeps delaying repairs: Upgrade the bay rather than duplicating random tools: place task lighting at both sides, keep fluid equipment clean and ready, add a mobile cart, label diagnostic leads, and stage project bins. Convenience earns its cost when it prevents searching, cross-contamination, lost fasteners, or repeated vehicle positioning.
Ownership & compatibility
Keep precision, lifting, and powered equipment trustworthy
A tool plan remains useful only when the equipment can be identified, inspected, stored, and supported. Give safety-critical and measuring tools more deliberate care than ordinary hand tools.
Maintain an inspection and accuracy record: Record model and serial numbers for torque instruments, meters, scan tools, jacks, stands, lifts, chargers, and compressors. Follow each maker's checks, storage instructions, calibration guidance, software support, and out-of-service criteria; do not invent a universal interval for equipment with different designs and workloads.
Control batteries, air, hoses, and cords: Store and charge battery packs within their documented conditions, inspect terminals and cases, and plan replacement without locking a critical repair to one failing pack. For air equipment, maintain the specified filtration or lubrication and inspect fittings and hoses. Route electrical cords and air lines away from hot parts, pinch points, and walking paths.
Organize by interface and repair state: Use labeled rails, drawers, or molded cases for socket profiles, drive sizes, adapters, and measuring leads. Give active repairs their own trays or bins, separated by assembly or side of the vehicle. That arrangement protects threads and connectors while making missing hardware visible before reassembly advances.
Keep fluid and contamination tools disciplined: Label drain pans, pumps, funnels, and filling adapters by compatible fluid or clean them according to their instructions. Cap clean ends, contain leaks, and replace damaged seals or hoses. Proper segregation reduces the chance that residue or debris enters a hydraulic, cooling, lubrication, or brake system.
FAQ
Repair-planning questions about automotive tools and garage equipment
These answers address the choices that remain after the job sequence and vehicle requirements are clear.
Where should I get the tool list for a repair?
Is a large mechanic's tool set the best starting point?
Do I need both an impact wrench and a torque wrench?
How much scan-tool capability should a DIY owner buy?
Can I choose a floor jack and stands by capacity alone?
When is renting a specialty tool better than buying?
Should I choose cordless or pneumatic automotive tools?
What garage organization helps most during a repair?
When should I stop planning a DIY repair and use a professional?
Bottom line
Build the tool list around the repair, not the display case
The strongest garage setup covers the complete sequence safely and leaves a clear path to verification. Broad capability matters only after the immediate procedure, vehicle, and workspace requirements are satisfied.
Begin with the exact procedure: Confirm the vehicle configuration, read removal and installation together, and translate every operation into a tool, measurement, consumable, access, or support requirement.
Secure the safety-critical equipment: Resolve lifting points, rated support, wheel restraint, working clearances, protective equipment, fluid control, and any manufacturer warnings before spending on faster removal tools.
Protect reassembly and diagnosis: Cover torque, holding, measurement, scan functions, electrical tests, and final verification. A repair is not complete because the part is installed; it is complete when the specified checks support the result.
Buy for repeat use; rent for isolated gaps: Own the dependable core and the specialty tools your repair history justifies. Rent, borrow, or use qualified service for rare equipment when that route delivers the correct tool without unnecessary cost, maintenance, or storage.
Reading Shortcuts
Move directly to the planning decision that is holding up your repair kit.
Decision Reminders
Six checks to complete before the vehicle is taken out of service.
- Read through reassembly: Installation may require different holding, torque, or measurement tools than removal.
- Confirm the vehicle variant: Engine, drivetrain, brakes, suspension, and model year can change access and special-tool needs.
- Verify lift points: Use vehicle and equipment instructions for contact locations, support, and stability.
- Check working ranges: A tool's maximum does not show whether it suits the specified value.
- Reserve rare tools: Secure a specialty rental or loaner before disassembly creates a stranded vehicle.
- Plan the final test: Define how torque, leaks, function, codes, or measurements will confirm completion.
Glossary Snippets
Useful terms for translating a service procedure into a tool plan.
When to Use a Top 10 Review
Use a ranked list after the procedure has defined the exact equipment category and minimum requirements.
- You know the tool class: The job has already narrowed the search to a torque wrench, scan tool, jack, light, or another defined category.
- Your must-haves are written: Required range, interface, access, capacity, or coverage can screen out unsuitable picks.
- You want a market shortlist: A ranked overview can expose common feature tiers before detailed comparison.
- You will verify compatibility: The list is a starting point; vehicle and procedure requirements still control the purchase.
Already down to 2–3 models? A Comparison is usually the faster next step.
When to Use a Comparison
Use a direct comparison when two or three products meet the repair's non-negotiable requirements.
- Both fit the interface: Compare ergonomics, access geometry, included adapters, and organization after compatibility is established.
- Both cover the working range: Look at control, readability, instructions, accuracy support, and service rather than a larger maximum.
- Both suit the bay: Compare storage, power, air, lighting, floor, and maintenance demands in the actual workspace.
- Ownership breaks the tie: Replacement parts, batteries, software terms, calibration support, and inspection needs may decide long-term value.
Still defining the category? Start with a Top 10 after mapping the repair requirements.