
Nail Tools Buying Guide: How to Choose the Right One
Choose nail tools by the job each one performs: shortening length, refining an edge, cleaning beneath the free edge, or managing loose cuticle tissue. A crowded case is not automatically safer or more useful than a few well-finished essentials.
Inspect jaw alignment, cutting pressure, file grit, tip shape, grip, corrosion resistance, and cleaning instructions. Tools that pinch, tear, scrape living skin, or cannot be sanitized easily should leave the shortlist regardless of price or presentation.
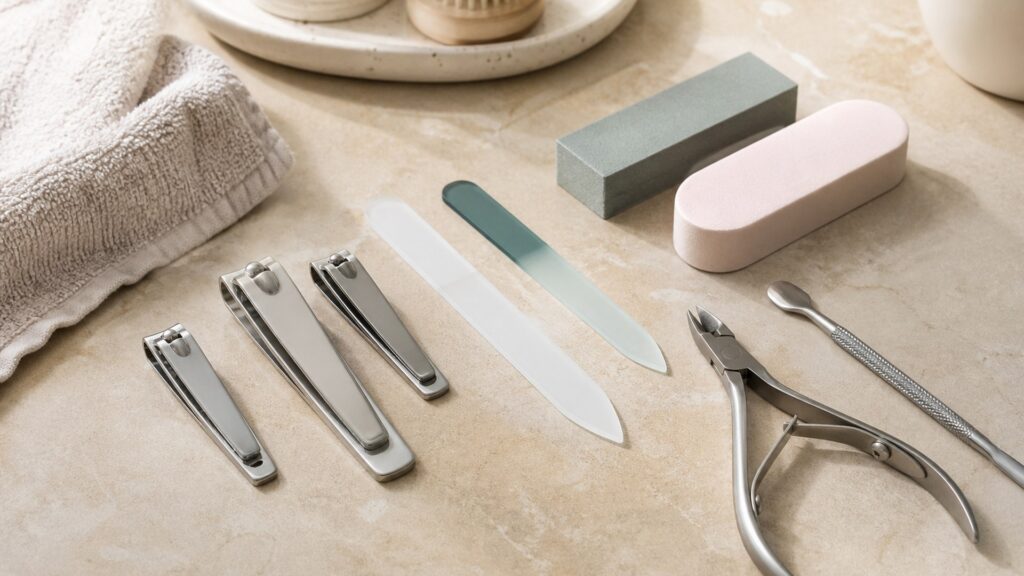
Buying framework
Match every tool to a defined nail task
Begin with the condition of the natural nails and the maintenance steps actually performed.
List recurring jobs: Separate trimming, shaping, smoothing, cleaning, and polish work. This exposes duplicate pieces and prevents a specialized implement from being used for the wrong purpose.
Inspect contact surfaces: Look closely at blades, jaws, abrasive faces, and tips. Edges should meet evenly, move smoothly, and lack burrs that catch nail layers or surrounding skin.
Plan sanitation: Confirm how each material should be cleaned and dried. Porous files, metal implements, and powered attachments may require different replacement or disinfection routines.
User profiles
Choose control for the hands doing the work
Nail thickness, dexterity, experience, and manicure style change which shapes feel safe.
The basic maintainer: A dependable clipper and appropriate file may cover the whole routine. Favor comfortable leverage and predictable cutting over a large accessory count.
The polish wearer: Add a cleanup brush or detail implement only when it has a clear role. Protect the nail plate from aggressive scraping during polish removal.
The precision hobbyist: Specialized nippers or pushers demand controlled technique and careful upkeep. Fine tips should come with protective storage and explicit intended-use guidance.
Construction details
Read alignment, grit, and geometry
Small manufacturing differences determine whether a tool cuts cleanly or creates extra damage.
What first use shows
A controlled first session reveals required pressure, visibility, edge smoothness, and whether the tool reaches the nail without contacting surrounding skin.
What cleaning shows
Washing and drying reveal hidden joints, rust-prone areas, abrasive wear, and whether the storage case traps moisture around metal surfaces.
Clipper alignment: Close the jaws under light pressure and inspect the meeting line. Uneven contact can crush one area while leaving another incompletely cut.
File abrasiveness: Match grit to natural or enhanced nails and use the gentlest surface that completes shaping efficiently. Excessively coarse files can roughen thin natural edges.
Handle control: Test whether the implement stays stable with dry hands and whether springs, hinges, or textured grips reduce fatigue without forcing awkward wrist angles.
Common mistakes
Avoid force and unnecessary cutting
Healthy nail care removes only what needs removal and preserves the protective structures around the nail.
Cutting too deeply: Do not chase extremely short nails or remove attached cuticle tissue. Pain, bleeding, or inflammation signals that the tool or technique has crossed a boundary.
Using a dull edge: Repeated squeezing and ragged cuts indicate wear or poor alignment. Replace the implement rather than increasing pressure and splitting the nail.
Sharing without sanitation: Personal tools are preferable. When an item is designed for appropriate disinfection, follow its material-specific directions and never share equipment contaminated with blood or infection.
Decision guidance
Buy essentials first and specialists deliberately
A compact group of reliable tools is easier to understand, clean, and replace.
Start with core pieces: Choose a well-aligned clipper and suitable file before considering specialty implements. These cover the most common shortening and shaping needs.
Add for a known technique: Purchase a pusher, nipper, drill, or detail brush only when the user understands its limited job, safe handling, and maintenance requirements.
Decline weak bundles: Skip kits with unidentified metals, rough hinges, duplicate implements, or no care instructions. A fitted case cannot rescue poor contact surfaces.
Care and storage
Keep tools dry, protected, and personal
Consistent maintenance preserves smooth movement and reduces contamination between sessions.
Clean promptly: Remove nail dust and product residue using the manufacturer-approved method. Dry joints and enclosed spaces completely before closing the case.
Protect sharp ends: Use caps, sleeves, or fitted slots so tips and blades do not strike other tools or cut fingers reaching into a drawer.
Retire damaged pieces: Replace cracked files, corroded metal, loose hinges, bent tips, and blades that no longer meet evenly. Do not attempt risky home sharpening.
FAQ
Questions about choosing nail tools
These answers focus on a safe, useful core rather than an oversized manicure set.
Which nail tools belong in a basic home kit?
How can I tell whether nail clippers are good quality?
Should family members share nail tools?
Final checklist
Choose clean cuts and controlled handling
The best tool earns its place through a clear function, sound finishing, and manageable care.
Confirm the job: Every piece has a named purpose in the owner’s routine; unexplained duplicates and overly aggressive implements stay out.
Confirm the finish: Blades align, abrasive surfaces suit the nail, tips are smooth, and moving parts operate without wobble or excessive force.
Confirm the upkeep: Cleaning directions are practical, drying is complete, sharp ends remain covered, and worn items can be replaced individually.
Reading Shortcuts
Move directly to the general selection decision stage you need.
Decision Reminders
Keep the evidence for general selection visible while comparing.
- Role: The nail tool serves the named task.
- Proof: The trial observes clean cuts, controlled filing, comfortable leverage, and intact surrounding skin.
- Care: Remove filings, disinfect compatible surfaces, and dry metal hinges before storage.
Glossary Snippets
Useful language for comparing nail tools.
When a Top 10 List Helps
Use rankings to discover credible nail tools, then screen them for general selection.
- The format is undecided: A broad list reveals plausible forms and price levels.
- A shortlist is needed: Rankings narrow discovery but do not replace fit testing.
Have finalists already? Open the comparison section.
When a Direct Comparison Helps
Compare finalists after establishing their suitability for general selection.
- Two candidates remain: Side-by-side evidence exposes meaningful tradeoffs.
- An upgrade is uncertain: Compare whether added cost corrects the original weakness.
Still exploring? Start with the Top 10 section.