
Off-Road & Overlanding Buying Guide: How to Choose the Right One
An overlanding build is a chain of limited resources: payload, axle capacity, tire capacity, interior volume, electrical energy, water, range, time, and attention. Adding equipment to one link can weaken another. A roof load may solve storage while raising the center of gravity and consuming dynamic roof capacity.
Write the trip envelope before choosing hardware. Include road surface, obstacles, weather, elevation, duration, remoteness, fuel and water access, communications, occupants, and consequence of delay. Weigh the vehicle as used, then prioritize mobility, protection, recovery, health, navigation, and communication. Comfort comes afterward. A lighter, practiced, well-maintained system often travels farther and is easier to repair than a showcase build carrying redundant gadgets.
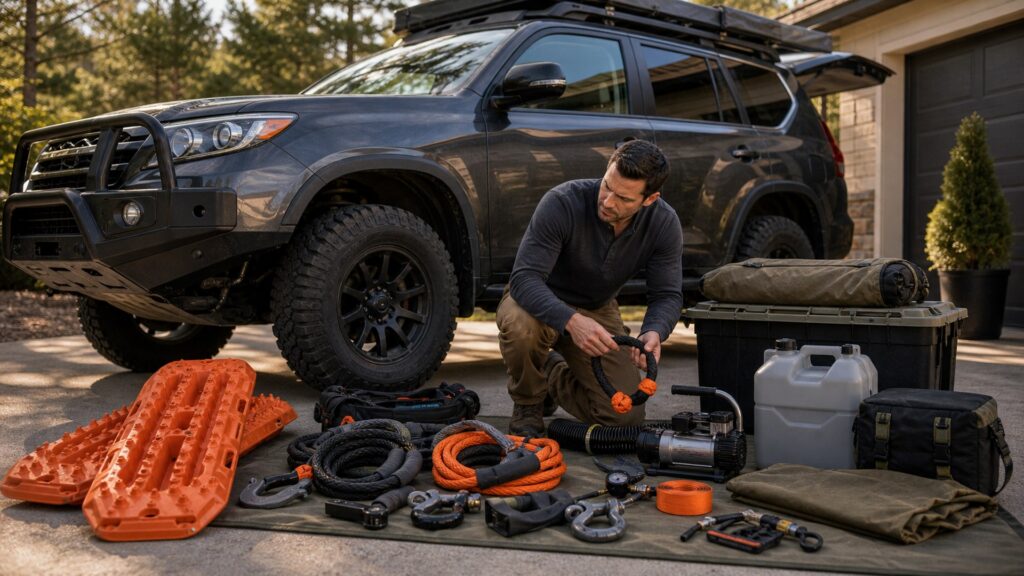
Buying framework
Build from the trip envelope toward the vehicle
Let route demands and consequences of failure allocate payload, space, and budget before product categories compete.
Define the mission: Document terrain, distance, weather, elevation, remoteness, travelers, pets, legal route status, resupply, and how long help could take.
Establish the loaded baseline: Weigh the vehicle by axle with people, fuel, water, recovery gear, shelter, food, and permanent accessories; compare tires and all manufacturer limits.
Rank failure consequences: Address tires, cooling, brakes, protection, recovery, water, navigation, communications, first aid, and weather exposure before convenience.
Design the whole load: Place dense gear low and between axles where practical, secure every item, preserve sightlines, and keep recovery and emergency equipment reachable.
Who this is for
Match build depth to route difficulty and support
Weekend maintained-road camping and remote technical travel do not justify the same mass, redundancy, or recovery equipment.
Maintained-road campers: Start with maintenance, sound tires, compact shelter, water, weather gear, navigation, and simple recovery appropriate to graded-road risks.
Remote solo travelers: Add conservative range margins, independent communication, robust tire repair, self-recovery capability, medical planning, critical spares, and a reliable check-in plan.
Technical trail users: Prioritize tire construction, clearance, underbody protection, rated recovery points, traction strategy, steering and cooling protection, and practiced spotting.
Family and long-duration travelers: Payload, seating safety, water sanitation, food storage, sleep quality, climate control, waste, charging, and daily setup effort become central constraints.
What to pay attention to
System specifications that determine whether the trip closes
A component earns space when its capacity, interface, consumption, and failure mode fit the mission and loaded vehicle.
Mobility & Survival
Tires, clearance, protection, recovery, fuel, water, weather, medical care, navigation, and communication.
Capacity & Integration
Payload, axles, roof limits, power budget, load placement, service access, securement, and redundancy.
Loaded axle and tire margins: Total mass can look acceptable while one axle or tire is overloaded; weigh the real configuration and include fluid and tongue-load changes.
Tire and pressure system: Match load index, construction, size, wheel, terrain, repair tools, compressor, gauge, valve protection, and pressure strategy to the route.
Protection and clearance: Skids, sliders, bumpers, and suspension should defend likely contact zones without excessive mass, lost cooling, poor service access, or unusable geometry.
Range and resource budgets: Calculate fuel, water, food, battery use, recharge, and reserve under actual temperature, altitude, speed, road, and idle conditions.
Recovery and communication chain: Use compatible rated points and equipment, practiced procedures, an exclusion-zone plan, navigation backups, and communication that reaches beyond cellular coverage.
Avoid these traps
Overlanding purchases that reduce expedition capability
The common failure is optimizing storage and appearance while quietly exceeding capacity or increasing field complexity.
Building before weighing: Payload disappears quickly into bumpers, racks, batteries, drawers, water, people, and tongue weight; brochure curb weight is not the finished vehicle.
Putting every spare on the roof: High mass reduces stability, stresses roof and rack limits, worsens wind behavior, and makes recovery on off-camber terrain less forgiving.
Adding complexity without diagnosis: Multiple batteries, inverters, controllers, plumbing loops, and electronic accessories create more joints and standby loads than some trips require.
Packing gear without practicing: Unfamiliar recovery tools, tire repairs, navigation backups, and camp systems consume daylight and can become hazards under stress.
Decision guidance
Choose the next purchase by the highest unresolved consequence
Use the mission risk register to decide whether weight and money belong in mobility, recovery, resources, communication, or comfort.
If traction and punctures dominate: Invest first in suitable tires, pressure tools, repair capability, driving practice, and a full-size spare strategy that the loaded vehicle can carry.
If contact risk dominates: Protect the vulnerable component or change the line, tire size, or route; avoid armor whose mass and reduced clearance create a larger system problem.
If remoteness dominates: Increase communication, navigation redundancy, range margin, water reserve, medical readiness, recovery practice, and check-in discipline before camp luxury.
If daily setup dominates: Simplify shelter, storage, cooking, charging, and water access; choose equipment that reduces repeated handling without pushing payload or roof limits.
Ownership & compatibility
Treat the build as a maintained field system
Loads settle, fasteners move, wires chafe, filters clog, water systems grow contamination, and trip assumptions change.
Run a loaded shakedown: Weigh by axle, drive highway and rough surfaces, test braking and steering, inspect temperatures and rubbing, and operate every camp and recovery system.
Use departure and return inspections: Check tires, fluids, brakes, mounts, armor, recovery points, fasteners, wiring, batteries, water sanitation, emergency dates, and route or permit status.
Remove equipment that earns no place: After each trip, record what failed, went unused, was hard to reach, or consumed excessive setup time; simplify before buying another subsystem.
FAQ
Off-road and overlanding buying questions
These answers cover payload, priorities, power, water, recovery, storage, and route planning.
What should I buy first for an overlanding vehicle?
How do I calculate remaining payload?
Are bigger tires always better off road?
How much water should an overlanding vehicle carry?
Do I need a dual-battery system?
Should recovery gear be stored inside or outside?
How much redundancy is appropriate for remote travel?
Is a roof rack necessary for overlanding?
How should I test a new overlanding build?
Bottom line
Capability comes from disciplined systems, not accessory count
The right build fits the trip, remains within every vehicle limit, protects high-consequence functions, and can be operated and repaired by the people traveling.
Write the mission: Let terrain, duration, climate, remoteness, and travelers define requirements.
Respect capacity: Weigh by axle, manage tire and roof limits, and keep dense gear low and secured.
Practice and simplify: Shakedown recovery, resources, communications, and camp systems; remove what does not earn its mass.
Reading Shortcuts
Move from the overlanding system problem to a vehicle-compatible plan that can be installed and verified.
Decision Reminders
Keep the complete overlanding system system in view while comparing parts.
- Mission: Terrain, duration, climate, and support.
- Weight: Check total, axle, tire, and roof limits.
- Mobility: Tires and pressure before gadgets.
- Recovery: Rated, compatible, practiced equipment.
- Resources: Budget fuel, water, and energy.
- Access: Secure gear but keep emergencies reachable.
Glossary Snippets
Terms that separate useful performance from apparent compatibility.
When to Use a Top 10 Review
Use a overlanding system roundup only after the required function, vehicle interface, and operating limits are known.
- Problem defined: The visibility or mobility failure is specific.
- Vehicle mapped: Interfaces and limits are documented.
- Format chosen: The correct product family is settled.
- Evidence available: Finalists can be compared on relevant tests.
Have finalists already? Open a Comparison for a closer tradeoff.
When to Use a Comparison
Compare overlanding system finalists that solve the same defined problem on the same vehicle configuration.
- Application: Both match the exact vehicle and function.
- Performance: Evidence addresses the operating problem.
- Integration: Mounting and system effects are understood.
- Ownership: Inspection and service demands are acceptable.
Need a broader field? Use a Top 10 to form a shortlist.