
Perimeter Seal
The air-filter gasket edge that blocks unfiltered airflow from passing around the media into the clean side.
- Compression must be continuous
- Housing damage creates gaps
- Wrong profiles can appear seated
Engine-filter fitment is the complete match between a vehicle's circuit and the replacement element—not merely whether the part enters the housing. Air filters depend on perimeter sealing and stable pleats; spin-on or cartridge oil filters may require exact threads, height, bypass, anti-drainback, cap, and standpipe relationships; fuel filters add pressure, chemistry, water, heater, sensor, and priming interfaces.
A near match can leak around the media, obstruct flow, open bypass at the wrong condition, drain oil after shutdown, collapse, admit air, spill fuel, or prevent the housing from closing correctly. Use VIN and engine configuration, current application data, exact part specifications, and interface-by-interface comparison. Never force a cap, compress the wrong seal, or assume identical outside dimensions mean identical operation.
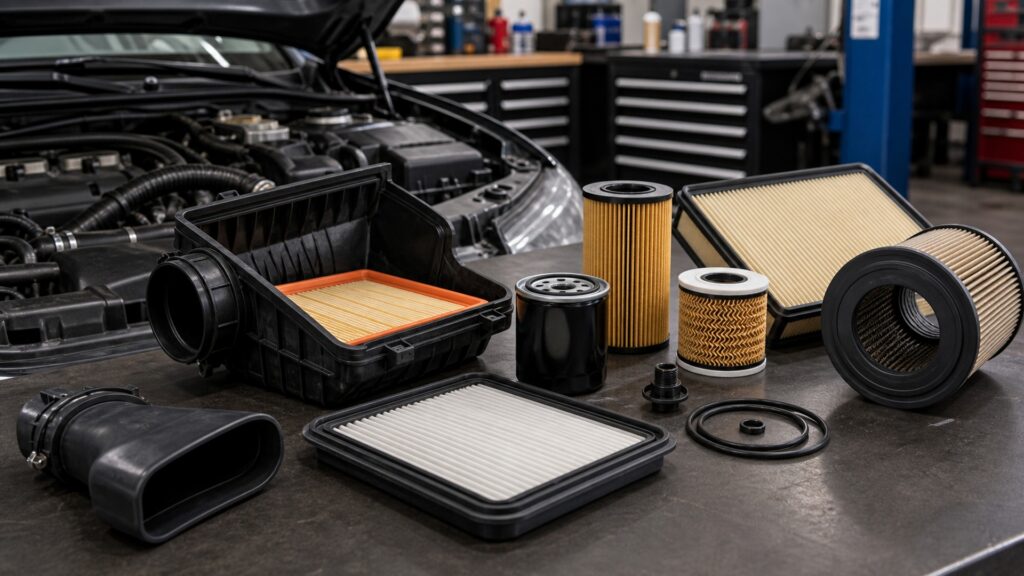
Fitment joins geometry, sealing, flow, valves, materials, strength, and application control; missing any one can defeat filtration or damage the circuit.
Tip: If the housing needs unusual force to close, stop. A displaced element or incorrect height can crack the cap, crush media, or leave an internal bypass path.
These terms describe hidden interfaces that a visual size comparison often misses.
The air-filter gasket edge that blocks unfiltered airflow from passing around the media into the clean side.
The cartridge-filter relationship with a housing tube, drain valve, or internal flow-control feature.
The specified differential-pressure threshold at which an oil circuit permits flow around restrictive media.
A flexible valve intended to limit oil draining backward from selected filters after shutdown.
The filter element's ability to resist deformation when pressure differential loads the media and support structure.
Controlled data matching part numbers to engine, production date, options, housing, and service revisions.
Tip: Retain the removed filter and packaging until pressure, leakage, and operation are verified; they preserve evidence if the application proves wrong.
An air element too narrow, a pinched O-ring, a doubled oil gasket, or a damaged fuel seal gives fluid a path around the intended media. Surface cleanliness and correct compression matter as much as nominal dimensions.
The fluid will follow the easiest path, including one created during installation.
Cartridge filters may open drains, seat against standpipes, divide inlet from outlet, or position bypass components through their end geometry. A shorter or differently shaped element can fit loosely yet reroute oil internally.
External resemblance cannot establish the internal flow path.
Two oil filters with the same thread can use different bypass pressures, valve materials, media areas, or burst ratings. The engine's pump, bearing demand, viscosity range, and mounting orientation define the required combination.
Threading onto the stud proves attachment, not system compatibility.
Fuel blends, hot oil, underhood heat, moisture, and cold starts challenge elastomers, adhesives, resins, housings, and pleat supports. A material mismatch may swell, harden, delaminate, leak, or collapse after initial installation.
A leak-free first minute does not prove long-term material compatibility.
Correct elements should allow the housing to close by the documented method. Afterward, prime fuel systems where specified, restore oil level, start safely, monitor warnings or pressure, and inspect all disturbed joints.
Installation proof is a correctly closed, sealed, flowing circuit—not the absence of leftover pieces.
True fitment aligns every sealing, flow, valve, structural, chemical, and service interface for the exact engine configuration.
VIN-qualified catalog data, part-number traceability, matching dimensions and interfaces, undamaged seals, normal closure, correct torque, restored pressure or restriction, and leak-free operation all agree.
The installer compares the removed and replacement elements without assuming the old part was correct, then checks current service information for revisions and required companion seals.
Forced closure, loose seating, wrong threads, unexplained extra seals, displaced pleats, uncertain bypass values, incompatible materials, missing sensor ports, or unresolved application notes stop installation.
A cross-reference table, online photo, shared housing diameter, or successful thread engagement cannot override exact vehicle data and documented operating specifications.
Fitment myths reduce a hydraulic, pneumatic, or fuel-system component to length and width.
Caps and clips can sometimes force an incorrect element into place, crushing pleats, displacing seals, or blocking a standpipe. Closure should occur with the documented resistance, alignment, seal placement, and torque.
Thread and gasket diameter establish only two interfaces. Bypass pressure, anti-drainback function, flow capacity, media, length, burst strength, mounting clearance, valve materials, and exact engine application can still differ materially.
The housing is designed for a particular profile and compression. Excess thickness can bow the cover or prevent latch engagement; insufficient thickness can admit unfiltered air. Use the specified element and inspect the sealing land.
A prior installer may have fitted the wrong part, and service numbers can change. Confirm VIN, engine, build date, current catalog notes, and housing identity independently before using the removed element as comparison evidence.
Tip: Require evidence for the hidden interfaces because a wrong filter may fail internally without falling out of the housing.
These answers cover cataloging, visual comparison, oil-filter valves, O-rings, and what to do when the application is uncertain.
Media area, efficiency, capacity, internal supports, adhesives, valve settings, gasket material, pressure rating, and test requirements can differ inside the same envelope. Compare documented specifications and the exact application, not dimensions alone.
Use the seal supplied or specified for that service, remove the old one, clean its groove, inspect mating surfaces, lubricate only as directed, prevent twisting, and torque the housing correctly. Never stack two seals.
Pause installation and reconcile VIN, engine code, build date, housing part number, service supersessions, and manufacturer data. Contact the supplier or vehicle maker when necessary and retain screenshots or documentation of the resolution.
Yes. Leaks, restriction, pressure loss, drainback, air entry, or sensor-port mismatch can affect monitored values. Diagnose the warning and inspect installation immediately rather than assuming a new component cannot be responsible.
Confirm normal housing closure, fluid level, prime where required, pressure or restriction behavior, absence of leaks, stable engine operation, and no new diagnostic faults. Reinspect after temperature and pressure cycles when instructed.
Engine-filter fitment matters because seals, valves, internal geometry, strength, chemistry, and flow requirements are part of the component's job.
Resolve the exact application, compare every interface, install without force or contamination, and verify the operating circuit. Physical insertion is only the beginning of fitment.
Related explainers show how filter media and pressure behave, how exact replacement-part control works, and which engine functions suffer when clean flow is lost.
See how media, capacity, pressure drop, bypass, and clean-side handling depend on a correct physical installation.
Use application data, supersessions, installation instructions, and verification to control replacement-part risk.
Trace how air, oil, and fuel support combustion, lubrication, cooling, and precise delivery inside the engine.
Choose a retailer
Prices checked regularly. We may earn a commission at no cost to you.