
Footwell Contour
The three-dimensional floor shape formed by pans, tunnels, slopes, carpet features, trim, and seating position.
- Trim changes geometry
- High spots cause rocking
- Corners control edge contact
Floor-protection fit is three-dimensional. A product must follow the footwell pan, meet the sill and console edges, align with factory retention points, stay beneath seat movement, leave vents open, and avoid rocking on carpet features. A close outline on a product page cannot prove those relationships inside a particular model and trim.
The driver footwell adds the most important acceptance test: accelerator, brake, clutch where fitted, footrest, and the covering must remain separated through their complete motion and under repeated shoe loads. Material stiffness, wall height, thickness, backing, anchor engagement, and any curled edge can change that clearance. Fitment remains incomplete until the protector can also be removed while carrying debris or water without tipping it into the cabin.
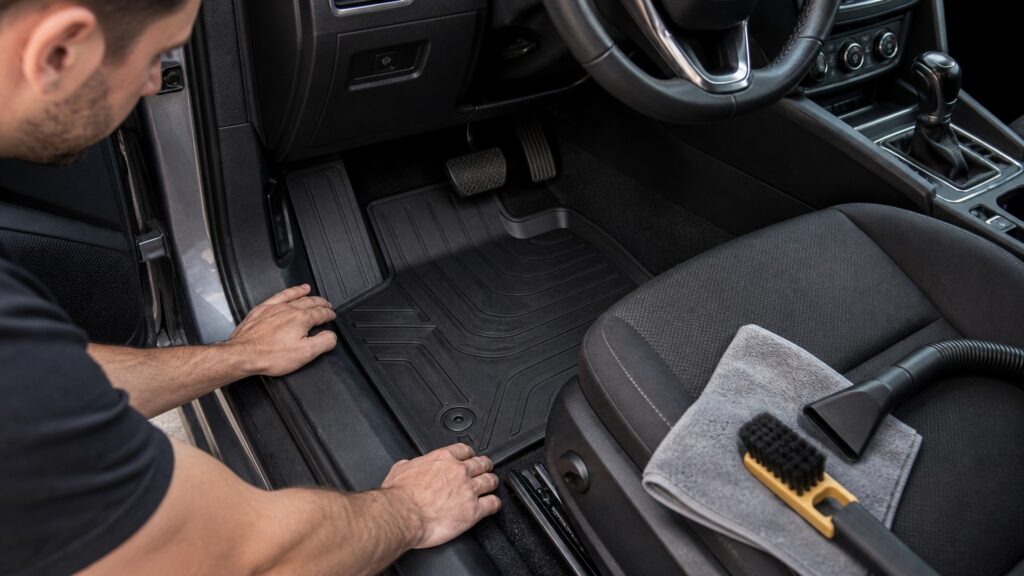
The review covers floor geometry, anchors, controls, seats and vents, material behavior, edge sealing, and clean removal.
Tip: Inspect the installed covering as a moving interface among feet, pedals, seats, trim, and captured contamination.
These terms identify the clearances and attachment geometry that a generic size label can miss.
The three-dimensional floor shape formed by pans, tunnels, slopes, carpet features, trim, and seating position.
The complete space occupied by accelerator, brake, clutch, linkages, and the driver's moving foot through normal and full operation.
The combined factory anchor and mat grommet, clip, lock, or mating feature that restrains intended movement.
The separation required so the protector and its raised edges do not enter rails, motors, wiring, feet, or seat travel.
The transition where the protector meets door-side trim and must contain debris without obstructing entry, seals, or trim attachment.
The combined thickness and sliding behavior of carpet, backing, pads, liners, or mats placed in the footwell.
Tip: Evaluate the finished installation at every boundary it touches.
Seat type, transmission, console, pedals, sound insulation, carpet contours, and factory options can change the floor even within one model name. A protector should sit without bridges, rocking, forced folds, or unsupported walls.
Stable contact starts with matching the vehicle that actually exists.
Inspect accelerator, brake, clutch, footrest, and shoe movement with the covering anchored. Check full pedal travel, lateral transitions, edge lift, heel position, and movement after repeated entry rather than relying on parked appearance.
Pedal clearance is a dynamic acceptance condition, not a one-time visual gap.
Posts, hooks, clips, and locks work only when location, quantity, orientation, thickness, and engagement match. Torn holes, missing parts, or an extra layer can defeat retention and allow forward or rotational movement.
Positive retention supports the contour; friction alone is not the fit system.
Move seats through their range, inspect rear foot access, keep heating or electronic vents open, protect under-seat wiring, and ensure walls do not lift trim or catch shoes during entry and exit.
Good coverage stops where another cabin component needs movement, air, or access.
Add a safe representative load, identify grip points, and lift the protector along a path that clears pedals, seats, console, and sill without excessive bending or spilling. After cleaning, fit must return unchanged.
A liner that contains water while parked but spills during removal has an incomplete fit.
Two-dimensional coverage can look correct while anchor depth, rocking, wall stiffness, pedal motion, seat travel, vent clearance, or removal angle remains wrong.
The protector lies stable, engages every intended anchor, and remains outside controls after repeated foot movement.
Edges contain representative debris or moisture while seats, doors, vents, wiring, and removal remain unobstructed.
Heat, cold, cleaning, wear, cargo pressure, damaged anchors, and material memory can curl or shift edges.
A compatible product can become unsafe if stacked, installed backward, or returned to the wrong seating position.
These myths treat a product label, stiffness, or initial appearance as complete fit evidence.
Cut lines do not guarantee matching anchors, stable backing, raised-edge continuity, pedal clearance, seat-track separation, or a spill-safe removal path. Trimming can also weaken structure and create edges that curl or catch footwear.
Repeated heel force can translate or rotate an unrestrained covering, and a flexible edge can lift during pedal transitions. Engage the designed retention system and test full pedal motion after real entry cycles.
Stiff walls can bridge floor contours, press trim, interfere with seats, or spill when removal requires bending. Fit depends on correct shape, controlled flexibility, edge height, anchoring, and a workable loaded extraction path.
The driver footwell contains pedals, a heel path, footrest, and often different anchors and contours. Each seating position has separate boundaries, so fit and orientation must be verified at every installed location.
Tip: Verify geometry, retention, dynamic clearance, and loaded handling on the vehicle.
These answers cover vehicle identification, anchor testing, pedal clearance, edge behavior, and post-cleaning checks.
Confirm year, make, model, body style, trim, drivetrain or transmission where relevant, seating configuration, left- or right-hand drive, factory carpet and anchor type, existing accessories, and the exact seating positions being protected.
Install only the intended layer, engage every specified anchor fully, pull forward and rotate at the heel area, enter and exit repeatedly, operate controls, and confirm grommets, hooks, carpet backing, and edges remain undamaged and seated.
With the vehicle safely stationary, secure the covering, inspect beneath each pedal, move every pedal through full travel, transition the foot among controls using normal footwear, and repeat after the mat has experienced several entry cycles.
Walls may contact trim, seats, rails, wiring, vents, footwear, or door seals; bridge a contour; or fold during removal. Their benefit depends on stable shape and adequate clearance at every neighboring cabin interface.
Dry both faces and the underlying carpet, confirm no heat or chemicals distorted the shape, inspect anchors and backing, reinstall in the correct position, test movement and all clearances, then verify complete pedal operation again.
Floor-protection fitment matters because contour, retention, pedal motion, seat travel, trim, vents, edge geometry, and removal all determine whether the product remains protective rather than becoming an obstruction.
Match the exact vehicle, install one intended layer, engage every anchor, test dynamic clearances, and recheck after cleaning or seasonal changes. Safe fit is demonstrated on the finished vehicle, not inferred from a label.
These explainers show how correct geometry enables capture and how vehicle-specific and universal approaches differ.
Trace wear, debris, liquid, retention, clearance, and cleanout through the protection mechanism.
Compare vehicle-specific contours and anchors with universal sizing and trimming tradeoffs.
Connect safe fit to carpet wear, moisture, staining, odor, maintenance effort, and interior preservation.
Choose a retailer
Prices checked regularly. We may earn a commission at no cost to you.