
Maintenance Baseline
The documented clean, dry, undamaged, retained, and correctly fitted condition used for later comparison.
- Locate the maintenance baseline
- Observe maintenance baseline changes
- Verify the maintenance baseline
Floor protection is a working contamination reservoir, not permanent cabin trim. Grit fills recesses, salt remains after water evaporates, heel areas thin, raised edges deform, and retention hardware wears. Waiting for obvious carpet damage means the removable layer has already lost part of its protective margin.
Maintenance restores capacity and confirms that the protector still fits. The cycle includes controlled removal, emptying, material-compatible cleaning, complete rinsing where applicable, drying both faces, inspecting the exposed carpet and anchors, and reinstalling in the correct position. The last step is functional: verify that the surface remains stable and every pedal, seat, vent, trim edge, and occupant path stays clear.
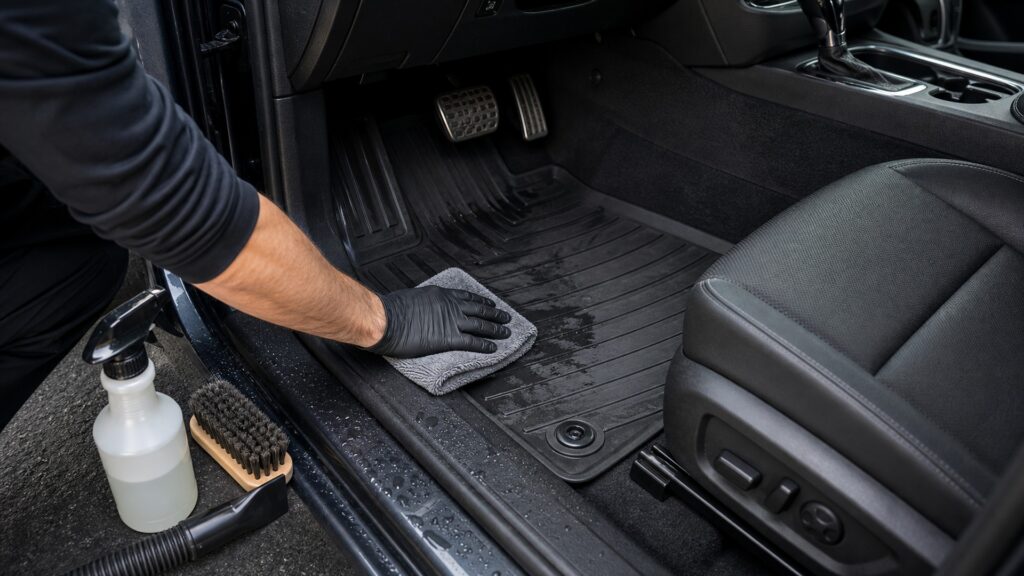
The program covers load removal, cleaning chemistry, drying, hidden inspection, wear, retention hardware, reinstallation, and records.
Tip: Maintenance succeeds when the system returns to its accepted dry, retained, full-capacity state.
These definitions make deterioration measurable before protection visibly fails.
The documented clean, dry, undamaged, retained, and correctly fitted condition used for later comparison.
The remaining groove, fiber, or recess volume available to separate loose solids from shoes and carpet.
The usable distance or volume between current liquid level and the lowest effective containment boundary.
Loss of grommet, hook, post, clip, carpet, or locking integrity that reduces resistance to movement.
The confirmed condition where exposed and hidden protector, carpet, and padding layers no longer retain service moisture.
The ability of cleaned or temperature-conditioned material to return to stable contour, flat edges, and safe clearances.
Tip: Compare the serviced covering with its original clean and fitted baseline.
Vacuum or lift loose grit before wet cleaning; remove standing liquid while the reservoir remains controllable; carry the protector level; and prevent material from falling into seat tracks, vents, trim gaps, or carpet.
The first maintenance job exports contamination without spreading it.
Different rubbers, elastomers, carpets, coatings, fibers, foams, and backings respond differently. Overaggressive service can remove texture, soften adhesives, fade surfaces, collapse pile, or leave a slippery film.
A clean appearance is not useful if cleaning changed traction or shape.
Separate the protector from the cabin, inspect carpet and padding for dampness, stains, odor, salt, mold, leaks, and corrosion, then dry all layers before reassembly. Waterproof tops can conceal long-lived moisture below.
Returning wet layers to contact restarts the damage process out of sight.
Inspect cracks, wall collapse, thinning, holes, hardened or polished texture, torn grommets, missing clips, unstable backing, and permanent curl. Cleanable material may still be mechanically unserviceable.
Maintenance includes replacement when function cannot be restored reliably.
Return each piece to its labeled location and orientation, use one intended layer, engage all anchors, move seats, inspect vents, press edges into contour, test foot transitions, and operate every pedal fully.
The job ends with verified fit, not when the cleaned protector enters the cabin.
Once grit and residue are removed, cracks, polished wear, weak backing, torn anchors, collapsed walls, or permanent curl may show that service life has ended.
Channels and fibers regain capacity without slippery residue or shape distortion.
Dry hidden surfaces and intact anchors support exact, stable reinstallation.
Recurring water beneath the protector indicates a source beyond routine cleaning.
Persistent odor, mold, corrosion, or soaked padding can require professional interior repair.
These myths treat surface appearance as a complete maintenance result.
Dark material can conceal grit, standing water, oil, salt, and polished wear. Maintenance interval should follow contaminant load, climate, use, and remaining capacity rather than color or how tidy the surface appears.
High pressure, hot water, and close nozzles can damage fibers, coatings, backing, edges, or bonded layers. Use the product's supported method, control temperature and distance, rinse completely, and allow thorough drying.
Water can enter at edges, spill during removal, arrive from a body or HVAC leak, or condense and remain trapped. Remove the protector periodically and inspect the carpet, padding, seams, and low areas.
Anchors may be missed, grommets stretched, backing slick, or edges lifted under foot pressure. Reinstall in the correct position, test likely movement, move seats, and verify complete pedal travel before driving.
Tip: Inspect load capacity, hidden layers, structure, and fit separately.
These answers set practical triggers for cleaning, drying, repair, replacement, and records.
Base the interval on grit, liquid, salt, mud, pets, work use, climate, trip frequency, and remaining capacity. Inspect sooner after major spills, snow, flooding, interior service, movement, odor, or any pedal-contact concern.
Remove loose solids, lift the protector without spilling, use compatible cleaner and agitation, rinse as directed, dry both faces fully, clean and inspect the vehicle floor, examine structure and anchors, then reinstall and verify.
Look for pale crystals, stiff fibers, hazy films, edge deposits, recurring dampness, or corrosion near hidden metal. Dissolved salt may remain after water disappears, so use material-approved rinsing and complete drying rather than brushing alone.
Replace missing, cracked, loose, corroded, distorted, or nonlocking hardware and any torn mating grommet that permits translation or rotation. Use vehicle-compatible parts and confirm the repaired interface resists likely foot forces.
Note date, contaminant type, cleaning method, drying time, carpet condition, anchor and edge inspection, wear observations, leakage, replacement actions, installation position, pedal-clearance result, and any recurring pattern requiring a shorter interval.
Maintenance restores capacity and confirms continued safe fit.
Remove contamination without spreading it, use compatible cleaning methods, dry visible and hidden layers, inspect structure and anchors, replace unrecoverable damage, and finish every cycle with exact placement, retention, and control-clearance verification.
These explainers define the condition being restored and the vehicle geometry it must reenter.
Use load, liquid, saturation, displacement, cleaning, and return states to trigger maintenance.
Recheck contours, anchors, pedals, seats, vents, trim, and removal clearances after service.
Audit pedal, retention, traction, chemical, heat, moisture, and reinstallation risks.
Choose a retailer
Prices checked regularly. We may earn a commission at no cost to you.