
Daylight Opening
The visible body aperture bounded by the windshield frame through which glazing provides the designed forward view.
- Perimeter geometry defines fit
- Trim reduces visible edges
- Wipe areas reference the opening
Windshield fitment controls what the driver sees and how the glass interfaces with the body. Correct length and width are only the beginning: curvature, thickness, edge shape, frit, tint, acoustic layers, head-up-display wedge, heater or antenna circuits, sensor windows, mirror and camera brackets, and compliance markings can differ within one model range.
The surrounding parts must agree as well. The glass must sit at the designed depth and gap, accept the correct molding and cowl, align with wiper sweep, and bond through a compatible primer-and-urethane process on a sound pinch weld. Cameras and rain sensors need exact brackets and optical coupling; some systems require calibration. A panel that physically enters the opening can still be an unsafe mismatch.
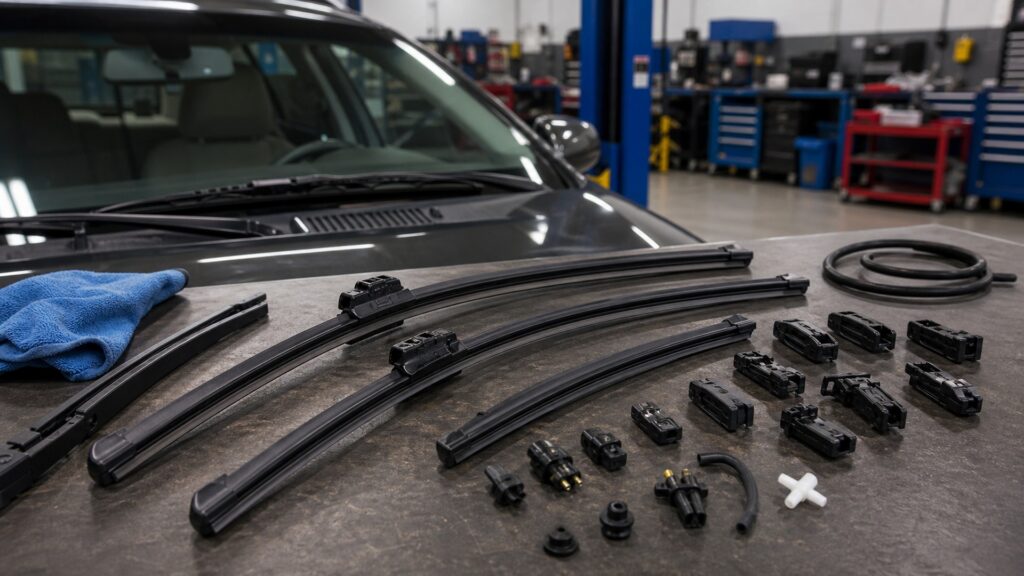
A valid fit joins transparent geometry, embedded features, attached hardware, perimeter bonding, trim, wipe coverage, and electronic calibration.
Tip: Compare the replacement to the installed glass before cutting the old bond; missing brackets, wrong frit windows, or incompatible connectors are easier to solve while the vehicle remains sealed.
These terms define why a windshield with similar measurements can still fail optical, structural, wiping, or electronic requirements.
The visible body aperture bounded by the windshield frame through which glazing provides the designed forward view.
A glazing designation associated with windshield-suitable safety glass and permitted shade-band information under applicable marking rules.
A controlled interlayer or glass geometry that manages the two-surface reflections used for a head-up display image.
A precisely located mount bonded or attached to glazing that fixes a forward camera's orientation relative to the vehicle.
A ceramic perimeter and feature-area print designed for bonding interfaces, light control, appearance, and attached hardware zones.
The shaped trim interface controlling edge appearance, aero noise, drainage, spacing, and transitions to roof, pillars, or cowl.
Tip: Use the vehicle identifier, build date, option codes, original markings, camera type, mirror hardware, and service information together; catalog titles are not sufficient.
Compound curvature determines how rays pass to the driver's eyes and cameras. Wrong contour, thickness, wedge, tint, or coating can create blur, double images, altered light transmission, or calibration failure.
Optical fit is measured from behind the wheel, not by laying two panes together.
Windshields may carry conductive grids, terminals, embedded wires, solar coatings, sound-control layers, VIN windows, or feature-specific frit. Missing or incorrect content defeats vehicle functions despite matching the aperture.
A connector with nowhere to attach is fitment evidence, not an optional leftover.
Bracket position and angle fix where hardware points; optical pads eliminate air gaps; covers require clearance. Slight errors can shift a camera's road projection or cause a rain sensor to misread reflections.
Electronic relearning cannot correct a bracket bonded in the wrong place.
Setting blocks, stops, bead height, and placement center the glass and establish adhesive contact. Wrong depth can starve the bond, distort moldings, create wind noise, or interfere with body and wiper parts.
Mixing adhesive products can invalidate cure and adhesion assumptions.
A windshield or companion part that changes curvature, park position, molding height, or cowl interface can cause missed bands, overtravel, edge strikes, chatter, or contact with trim.
Glass fit is incomplete until the visibility hardware works across it.
The correct part matches glass geometry and certification, option content, brackets, optical zones, perimeter bond, trim interfaces, wipe path, and calibration plan.
Vehicle identity, build date, body style, original markings, glass shape, tint, acoustic or solar content, HUD, heating, antennas, camera and rain-sensor provisions, mirror bracket, moldings, cowl, and connectors.
The approved adhesive, primer, cut depth, bead geometry, setting position, cure conditions, safe drive-away time, leak test, wiper test, sensor setup, and calibration are known before removal.
It requires moving a bracket, hiding a missing connector, altering a sensor window, stretching trim, changing wiper geometry, mixing adhesive systems, accepting optical distortion, or skipping required calibration.
Do not equate matching dimensions, marketplace interchange, or an AS-1 mark with total compatibility. Ambiguity in camera-equipped or structurally bonded glass requires qualified vehicle-specific documentation.
Interchange catalogs can collapse dozens of optical and electronic variants into a similar silhouette, while installation products appear interchangeable because they share the word urethane.
The marking addresses glazing classification, not vehicle-specific curvature, edges, tint, HUD optics, brackets, sensors, connectors, frit, molding, bond depth, or calibration. Confirm the exact application and installed option package. Completely.
Calibration adjusts within a supported procedure; it cannot repair wrong optical distortion, misplaced brackets, unsupported glass, loose seating, blocked views, incorrect ride height, or damaged mounts. Correct hardware and preparation come first.
Adhesive performance depends on a compatible system, substrate preparation, contamination control, temperature, humidity, bead geometry, and cure guidance. Mixing brands or chemistries without approval can undermine adhesion and safe drive-away claims.
Blade curvature, length, attachment, arm indexing, cowl position, molding height, and glass contour determine contact and sweep. A correctly bonded panel still fails functional fitment if visibility hardware skips, strikes, or parks incorrectly.
Tip: Treat each feature and each bonding product as a separate fitment gate that must pass before cutting the original glass.
These answers cover glass markings, HUD, acoustic layers, sensor brackets, urethane systems, calibration, and wiper compatibility.
Use permanent glass markings, vehicle identification, build date, option codes, camera and mirror hardware, connectors, tint and feature observations, then confirm through manufacturer parts and service information rather than one visual resemblance.
A head-up display relies on controlled glass or interlayer wedge geometry to align reflections. Standard glazing can present two offset reflective surfaces, producing ghosting that calibration or dashboard adjustment cannot remove.
It may require a specific clear optical window, bracket, coupling pad, frit pattern, tint, and installation position. Wrong glass or trapped bubbles can alter reflected light and produce erratic or unavailable automatic wiping.
Cure depends on the exact product system, bead, temperature, humidity, glass and body preparation, vehicle requirements, and airbag or structural assumptions. Use the documented time for the actual installation, not a generic estimate.
Verify glass height and gap, molding and cowl fit, leaks, wind noise, optical quality, embedded features, connectors, wiper sweep and park, washer pattern, mirror and sensor seating, fault status, and required calibration completion.
Windshield-component fitment matters because optical geometry, embedded features, hardware brackets, body bonding, trim, wipers, washers, and driver-assistance systems all depend on a vehicle-specific panel and installation process.
Confirm the complete option and glass package before removal, use one approved adhesive system, position and cure the panel correctly, then verify visibility hardware and documented calibration. A pane that enters the opening is not necessarily a fit windshield.
Related explainers connect the full windshield mechanism, operating performance, and service hazards to the interfaces that must match exactly.
Follow light, body loads, wiper torque, washer fluid, airflow, and sensor sightlines across the assembled windshield.
Evaluate transmission, distortion, retention, wiping, washing, fog control, and electronic availability under real conditions.
Control glass, adhesive, spring-arm, electrical, visibility, and calibration hazards during replacement.
Choose a retailer
Prices checked regularly. We may earn a commission at no cost to you.