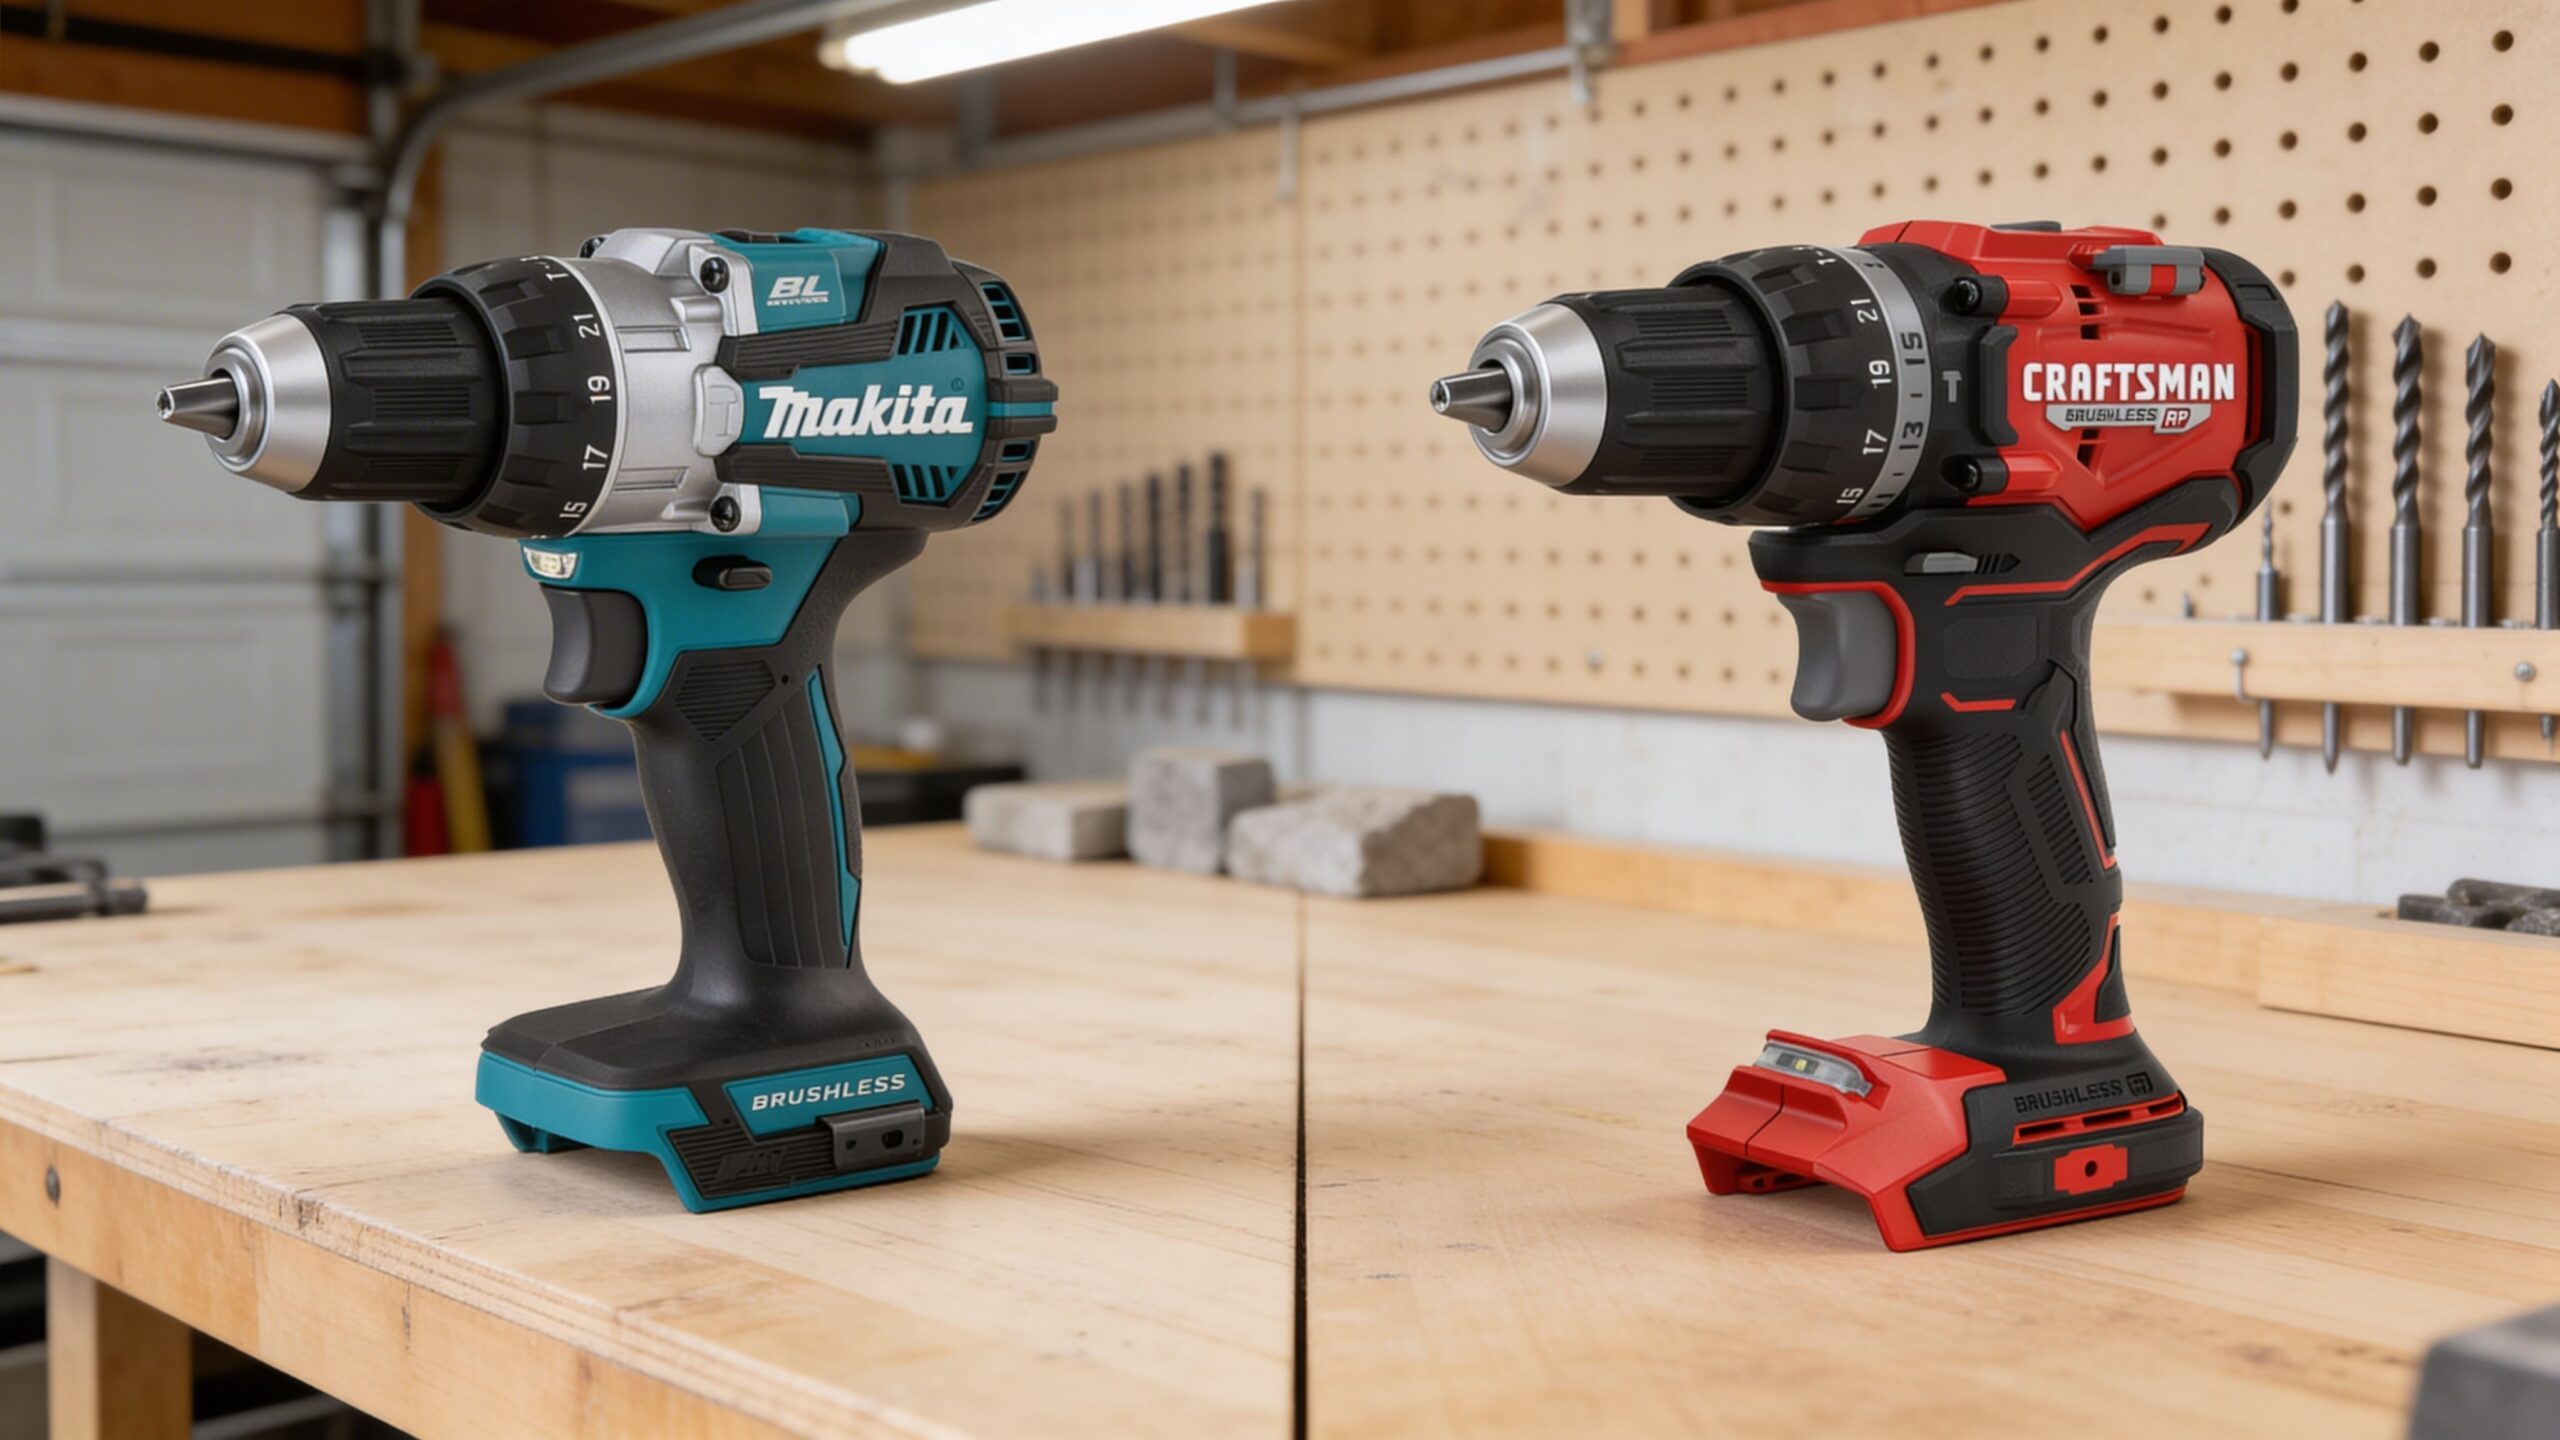
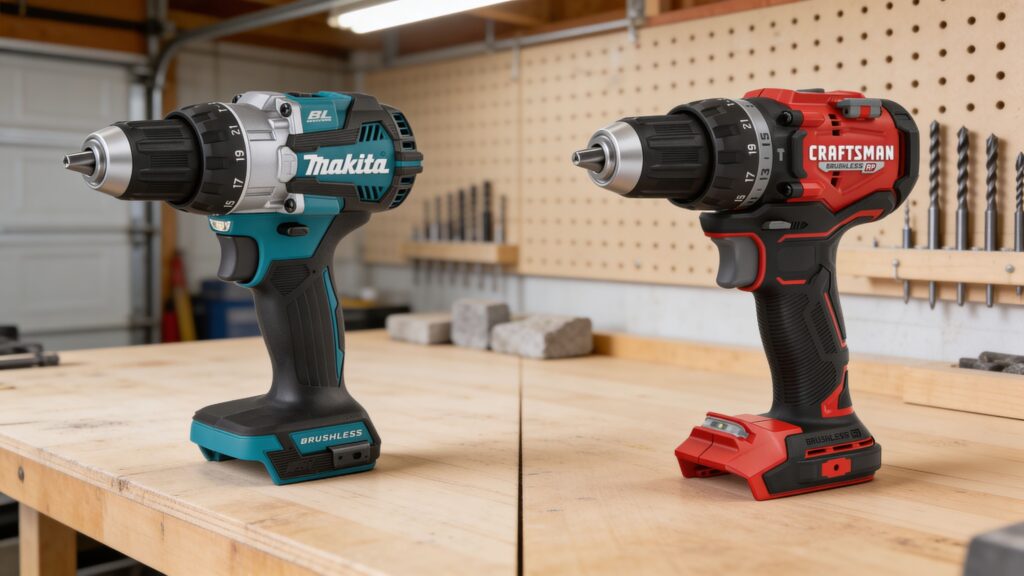
Hammer Mode vs Drill-Only Mode Hammer Drills: Key Differences Explained
This comparison examines hammer mode and drill-only mode in hammer drills, highlighting functional differences, material performance, and practical tradeoffs to help users choose the appropriate setting for real-world drilling tasks.
Head-to-head
Hammer Mode vs Drill-Only Mode Hammer Drills: Key Differences Explained
A clean A/B view of the two core operating modes on a hammer drill—what changes mechanically, how results differ across materials, and the practical tradeoffs that help you choose the right setting for the job.
Hammer Mode
Adds a rapid tapping action to rotation to help the bit chip and advance in masonry. Best when the surface is brittle and drilling speed matters more than a perfectly smooth hole wall.
- Noticeably quicker for anchor holes in block, brick, and light concrete when paired with a masonry bit
- More vibration and noise, so it’s not the right choice for wood, metal, or finish-sensitive surfaces
- Most useful when you need occasional masonry capability without stepping up to an SDS rotary hammer
Drill-Only Mode
Disables the hammering action for smooth, controlled rotation. Best for clean holes and predictable driving in wood, metal, and plastics where accuracy and finish quality matter.
- Cleaner entries and less chipping—ideal for cabinetry, fixtures, and finish-focused work
- Better control for accurate starts and consistent clutch behavior when driving fasteners
- Reduces wear and user fatigue versus hammer mode when masonry impact isn’t needed
Hammer Mode — Why people choose it
- Helps the bit advance in brick and block where drill-only tends to stall or overheat
- Makes anchor holes more practical without carrying an additional specialty drill
- Best paired with the right masonry bit and steady pressure rather than high speed
Drill-Only Mode — Why people choose it
- Cleaner, more controlled holes in wood, metal, and plastics with less blowout
- Better for accurate starts, step drilling, and finish work where vibration is a problem
- Typically the right default setting for driving fasteners with predictable results
Deep dive
What actually matters in this matchup
The real decision here isn’t “which drill is better,” but which mode fits the material and outcome you need. Hammer mode changes how the tool interacts with brittle masonry by adding impact to help the bit advance, while drill-only mode prioritizes smooth rotation for cleaner starts, better control, and fewer mistakes in wood, metal, and plastics. The difference shows up in how the drill feels in the hand, how predictable the hole starts are, how much vibration you tolerate, and whether the job rewards speed in hard substrates or precision and finish quality.
When the material fights back: hammer mode earns its place when brick, block, or light concrete slows progress and heat builds quickly. The impact action helps keep the bit moving with less “polish and stall,” which can reduce wasted time on anchor holes and hardware installs. The tradeoff is a rougher feel and more vibration, so it pays to use it only when the surface benefits from percussion rather than forcing it on materials where rotation alone is the correct approach.
When accuracy is the priority: drill-only mode is the setting that supports clean entries, controlled starts, and predictable results. That matters for alignment-sensitive work, finish surfaces, and any task where walking, chipping, or overcutting creates rework. In day-to-day workflows, drill-only also tends to feel calmer and more manageable, which makes it easier to maintain consistent technique across repetitive holes and fastener driving.
How to choose in real projects: favor hammer mode for masonry holes where the goal is reliable advancement and acceptable roughness, especially for anchors and light concrete tasks. Favor drill-only mode for most drilling and driving where control, hole quality, and lower fatigue matter more than impact assistance. If the work is mostly masonry and the holes are larger or frequent, the better upgrade is typically a rotary hammer; if the work is mixed, the best result comes from switching modes intentionally and matching the bit to the material.
Methodology
How we evaluated these drilling modes
Our evaluation focused on real tasks that expose meaningful differences between hammer mode and drill-only mode, not spec-sheet claims. We assessed how each setting changes outcomes across common materials, how predictable the drill feels during starts and break-through, and how vibration and control affect repeatability. The goal is a consumer-first view of which mode fits the job, the surface, and the level of precision required.
Tasks: drilling clean holes in wood and metal in drill-only mode, creating anchor holes in brick/block with hammer mode, repeated start–stop cycles, and finish-sensitive work where chipping, wandering, and breakout matter.
What we scored: progress in the intended material, control during starts, hole quality and edge damage, vibration and fatigue over repeated holes, bit behavior (walking, binding, heat), and overall workflow impact when switching modes.
How results are interpreted: performance is evaluated relative to the surface and the outcome you need—speed and advancement matter more in masonry, while control and clean results matter more in wood/metal. We treat each mode as a tool choice, because the “best” setting shifts with hole size, bit type, and the tolerance for vibration or surface damage.
What we ignored: advertised impact or torque claims in isolation, one-off lab-style results that don’t reflect typical use, and features that don’t change real outcomes—especially when the wrong mode for the material would undermine results regardless of the drill’s rating.
FAQ
Hammer Mode vs Drill-Only Mode: Common questions
When should hammer mode be used instead of drill-only mode?
Can drill-only mode handle masonry if hammer mode is available?
Does hammer mode affect hole quality?
Is it safe to use hammer mode for wood or metal?
Do both modes affect battery runtime differently?
Should the mode be changed frequently during mixed-material projects?
Key Takeaways
- Hammer mode is a situational advantage, delivering faster progress in brick and light concrete where rotational drilling alone tends to stall or overheat.
- Drill-only mode remains the default setting for most projects, offering cleaner hole starts, better control, and reduced surface damage in wood, metal, and plastics.
- The primary trade-off is speed versus precision: hammer mode prioritizes advancement in brittle materials, while drill-only favors accuracy and finish quality.
- Vibration and user fatigue increase noticeably in hammer mode, which makes selective use more practical than leaving it engaged continuously.
- Switching modes intentionally as materials change improves workflow consistency and helps preserve bit life and wear on the drill’s internal components.
- For mixed-material projects, understanding when to engage each mode often has a greater impact on results than tool brand or platform differences.
Verdict
Choosing the Right Hammer Drill Mode
This comparison isn’t about selecting a better tool, but understanding which drilling mode delivers the right outcome for the material and task. The difference comes down to whether the job benefits more from impact-assisted advancement or controlled, finish-quality drilling.
Primary choice
Drill-Only ModeThe default setting for most projects, offering cleaner holes, greater control, and lower fatigue across wood, metal, plastics, and fastener driving.
- More predictable starts and improved hole accuracy
- Reduced vibration supports longer, repetitive work sessions
- Better suited to finish-sensitive materials and mixed project workflows
Also consider
- Hammer Mode the practical choice for brick, block, and light concrete where impact improves drilling progress
Tip: The best results typically come from switching modes intentionally as materials change, matching the bit and drilling action to the surface rather than relying on a single default setting.
Reading Shortcuts
Jump to the sections that help you choose the right drilling mode—when to use hammer mode, when drill-only is the better fit, and how the tradeoffs play out on real materials.
Where to Buy
We prioritize reputable sellers, easy returns, and reliable availability.
Accessories You’ll Want
- Carbide-tipped masonry drill bit set (common anchor sizes for brick, block, and light concrete work)
- HSS twist drill bit set (for clean holes in metal and general-purpose drilling in drill-only mode)
- Wood boring bit set (spade or auger bits for studs, joists, and rough-in work without forcing the tool)
- Center punch or awl (helps prevent bit walking and improves start accuracy on metal and smooth surfaces)
- Safety glasses and hearing protection (especially helpful in hammer mode where noise and debris increase)
Tip: Match the mode and the bit to the material—masonry bits for hammer mode, standard bits for drill-only—because the wrong pairing is the most common cause of slow drilling and premature wear.
